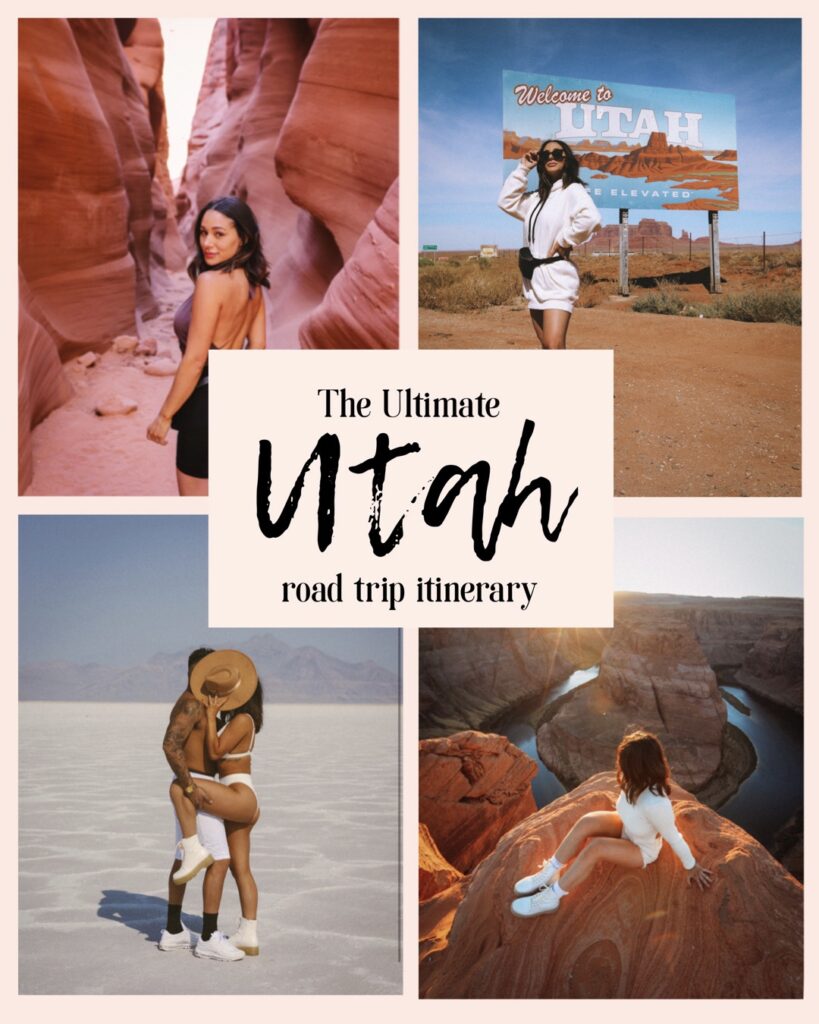
I hope you’re ready to DIVE IN because I’ve got all the details on our 16 day road trip through Utah + Arizona for you.
Things you will need to do prior to your trip:
- Get a COVID test if you’re traveling by plane at any point. Not required by the airlines, but it doesn’t hurt.
- Download the Google Maps App + download offline maps to your phone. You will probably need to save 3-4 sections of the map individually to cover all the ground you’ll be traveling on. There were many occasions we had no cell service, especially inside of national parks. You’ll want to get home at some point, so don’t plan to rely on your phone having service – do this in advance & thank me later.
- If you use Spotify, download your playlists to your phone! Again, no cell service = no music streaming.
- Purchase a National Park Pass – it’s $80/vehicle (up to 4 people can share one pass) and will last you 1 year. You will save so much money- just by visiting 2 or 3 parks, it will have paid for itself.
- Be prepared with the proper hiking gear. The exact hikes we took are listed in the itinerary below, but expect to be trekking through salt, sand + water. I linked all of my hiking essentials for you HERE. (Hiking boots, water shoes, trekking poles, water bottle + backpack)
- If you’re a photographer like me, make sure you have a memory card (or 3) with lots of space. This is the most scenic trip I’ve taken to date, and I used over 200GB of photos on my camera!
- Also to note- Utah is a Mormon state! You will meet some of the kindest people on the planet here, but on Sunday’s almost everything is closed. Keep that in mind if you plan to visit on a weekend.
Ok, now let’s dig in!
You can do this trip from anywhere in the world, make all kinds of alterations, and still have a phenomenal time with no shortage of scenery, beauty and fun.
We flew from Florida into Salt Lake City, UT, rented a car for the duration of our trip + flew out of Las Vegas, NV. It made the most sense for us with the amount of time we had + with the limited flight options (due to covid) at the time of booking.
We rented our car ahead of time. I prefer using Avis or Enterprise- you may pay a little more but it’s a seamless rental experience with no hidden fees etc. We chose the standard SUV option & it fit us along with our luggage extremely comfortably! The last thing you want during a road trip is to feel squished and miserable in your vehicle. Our SUV was 4-wheel drive, which I would consider a non-negotiable on this trip.
When looking for accommodations, I always recommend using this site! They tend to have the best pricing, endless options, and the best part is you can be rewarded for your loyalty by earning discounts on your bookings!
DAY 1:
Fly into Salt Lake City early. Pick up rental car. Explore!
Here’s some foodie spots worth checking out while you visit SLC:
Campos coffee Roastery & kitchen (brunch when arriving!)
Tosh’s Ramen or Ramen Bar
Ginger Street (Asian fusion)
Laziz kitchen (Mediterranean food)
Red Iguana (Mexican)
Pig & a Jelly Jar (brunch, comfort food)
SkinnyFatz
Eva’s Bakery (cute blue storefront)
Landmarks + fun stuff to check out in the city:
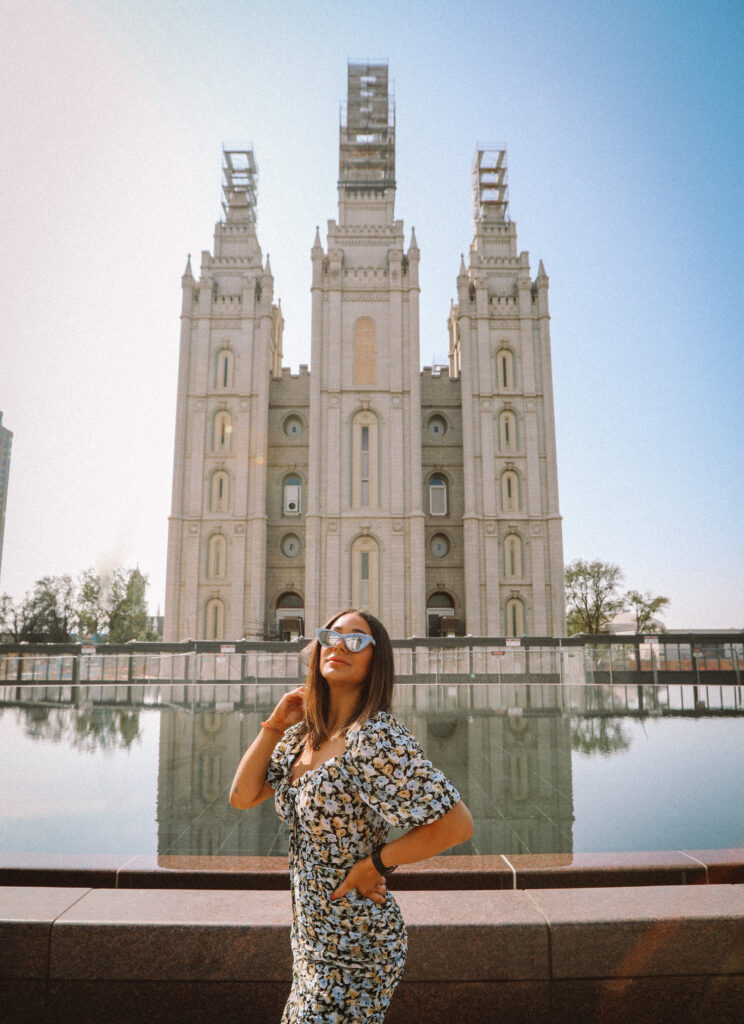
Temple Square (Under construction until 2024, but you can still visit! It’s beautiful!)
The Gateway
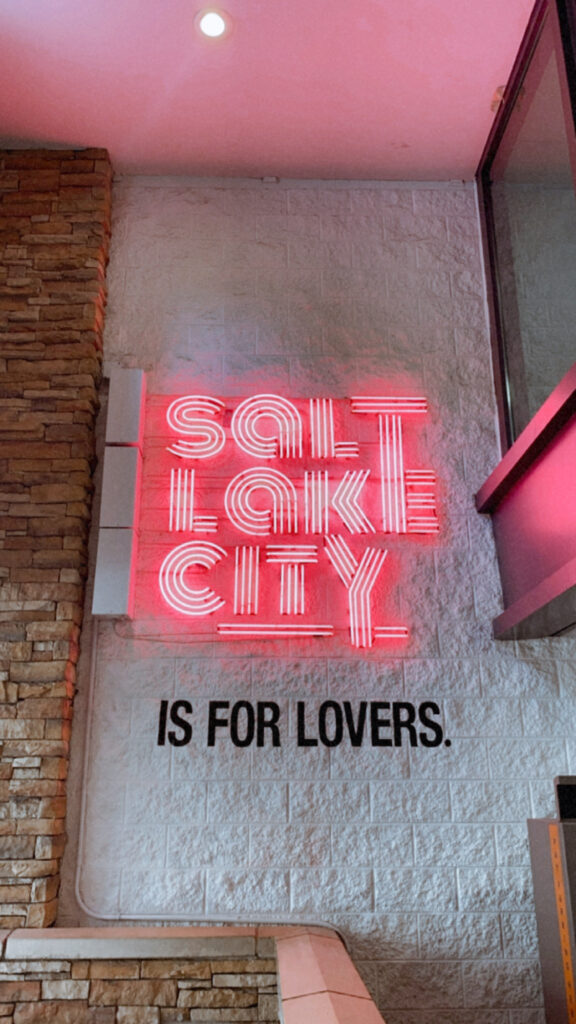
SLC is for lovers neon sign (This is located in the winter Parking Garage exit at The Gateway)
Dreamscapes (An immersive art experience – only $20 for tickets)
Salt Lake City Public Library (Was closed due to covid, but an architecturally stunning place to visit)

For our first night on the trip, we chose to stay with the Kimpton Hotel Monaco. It’s a beautiful boutique hotel right in the heart of SLC. Everything we wanted to do was just around the corner! We had a small luxury suite to crash in after a long day, packed with exploring. It was such a cozy room that I slept like a baby!

DAY 2:
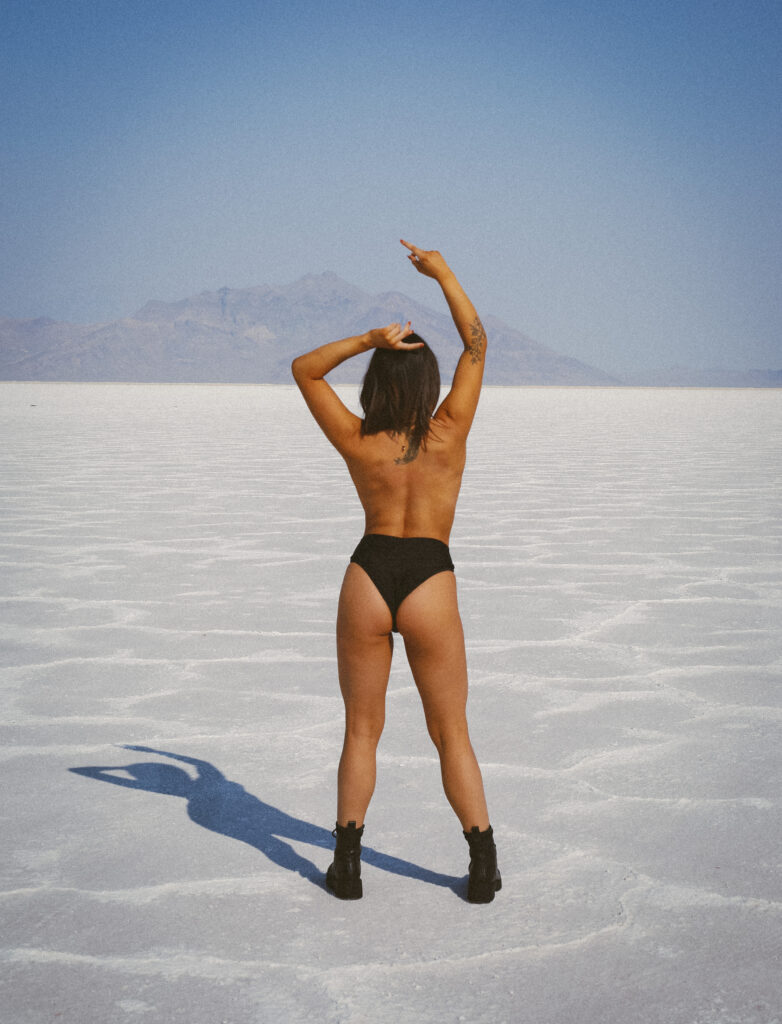
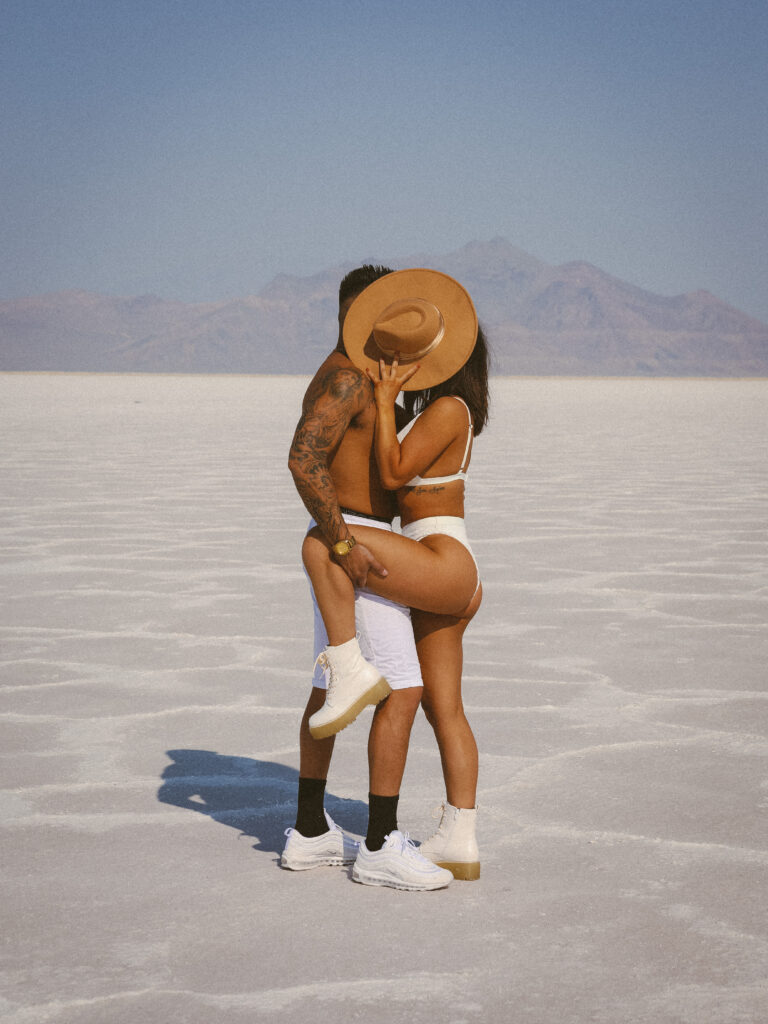
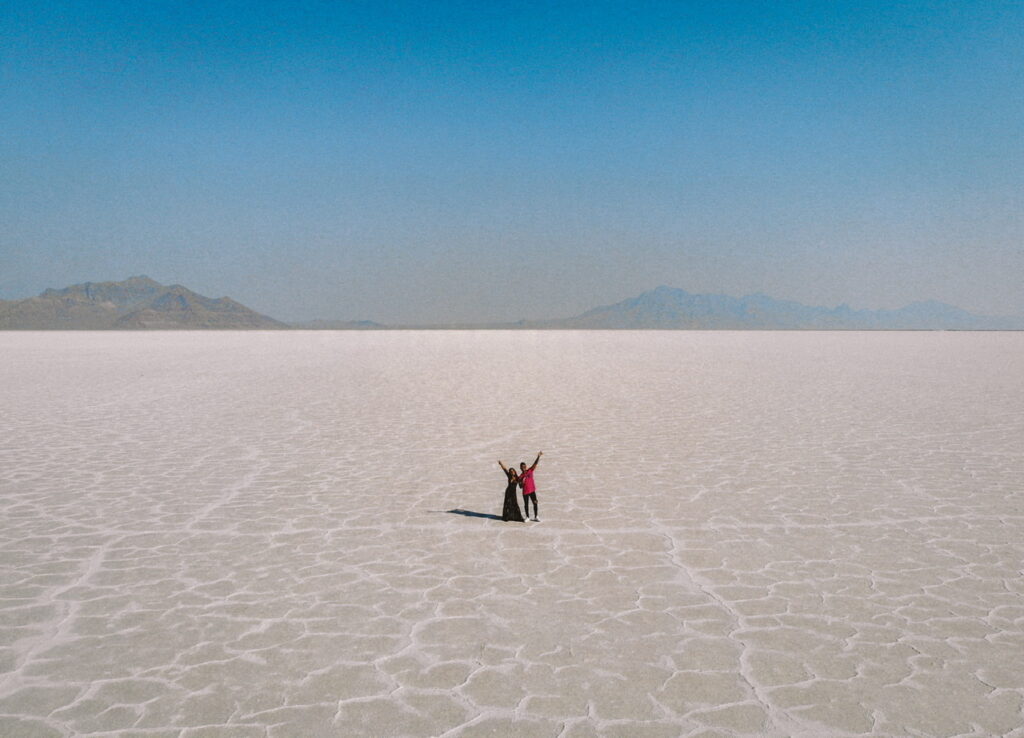
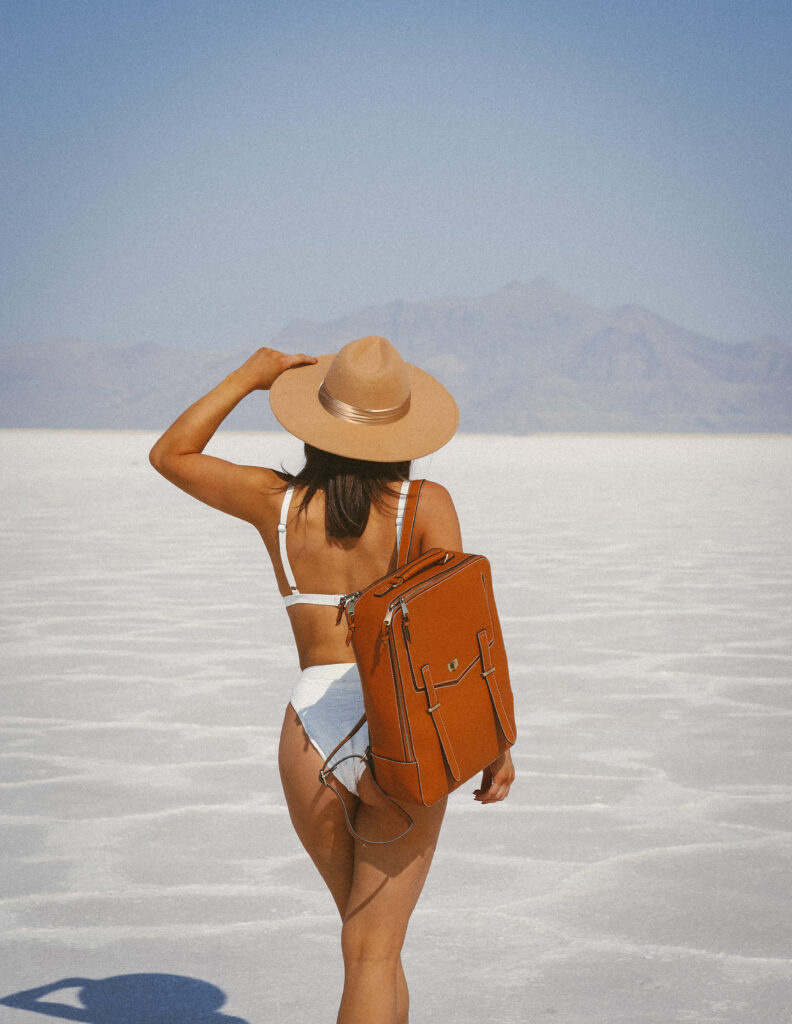
- Wake up early and drive 1.5 hours to Bonneville Salt Flats (use google maps for the correct location- Apple maps will say its 4 hours away…this is incorrect!) Don’t be afraid to drive on the salt flats!
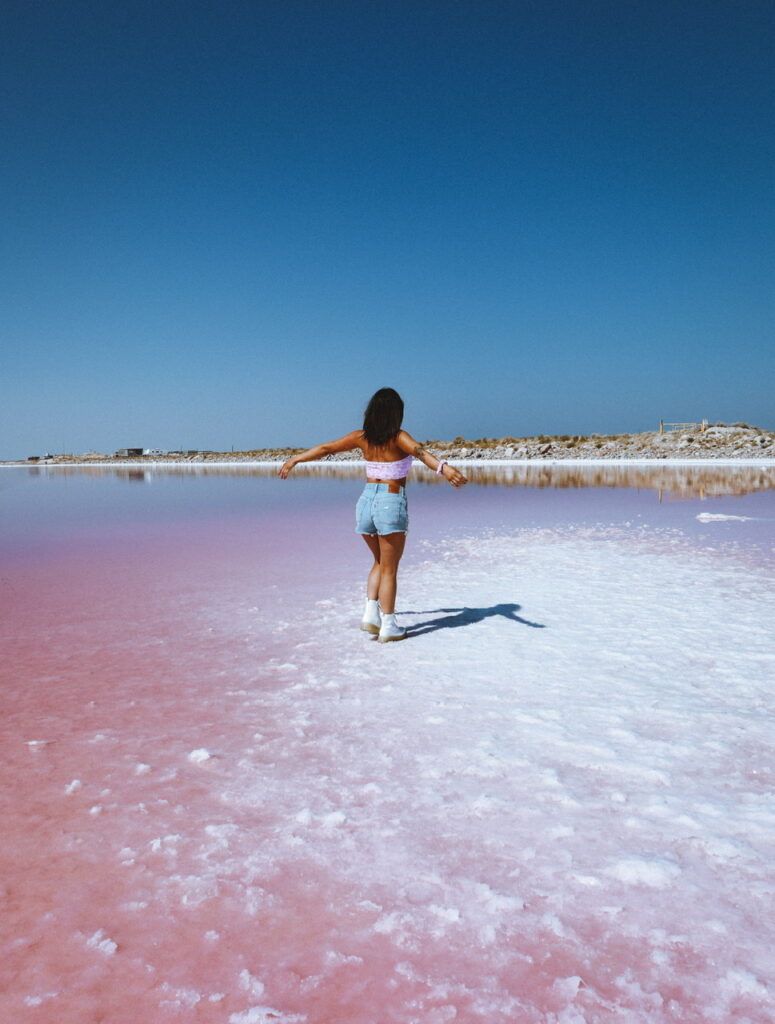
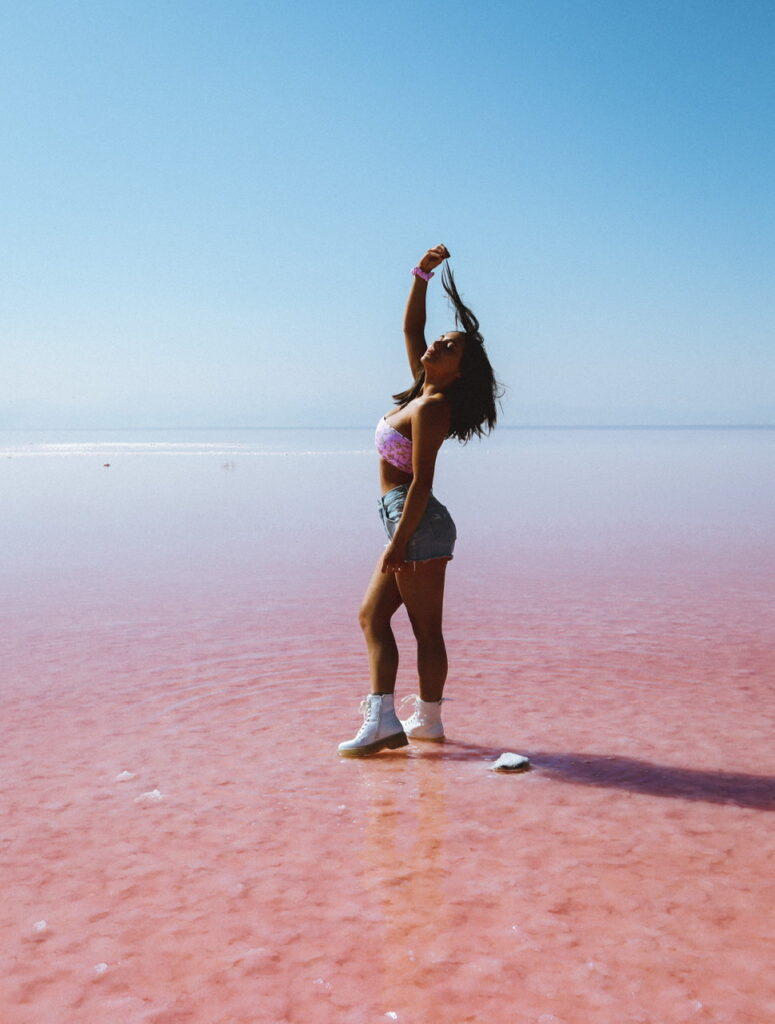
- Visit Stansbury Island in The Great Salt Lake. 1.5 hours from Bonneville Salt Flats (This is where you’ll find a salt content so high, the water is pink! BRING BUG REPELLENT!!!! This is the only time you will need it)
- Drive to Provo – 45 minutes from DT SLC + stay the night.

DAY 3:
- Diamond Fork Hot Springs – take the Fifth Water trailhead to get to the hot springs. (closed when we visited but worth checking out!)
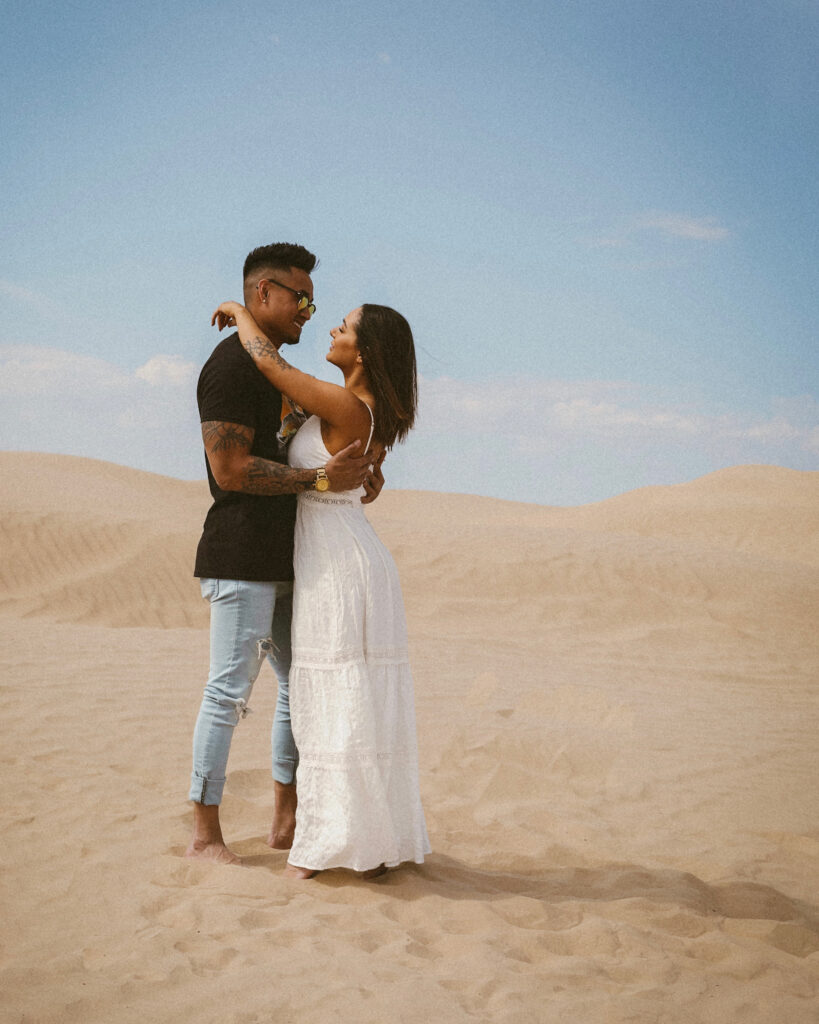
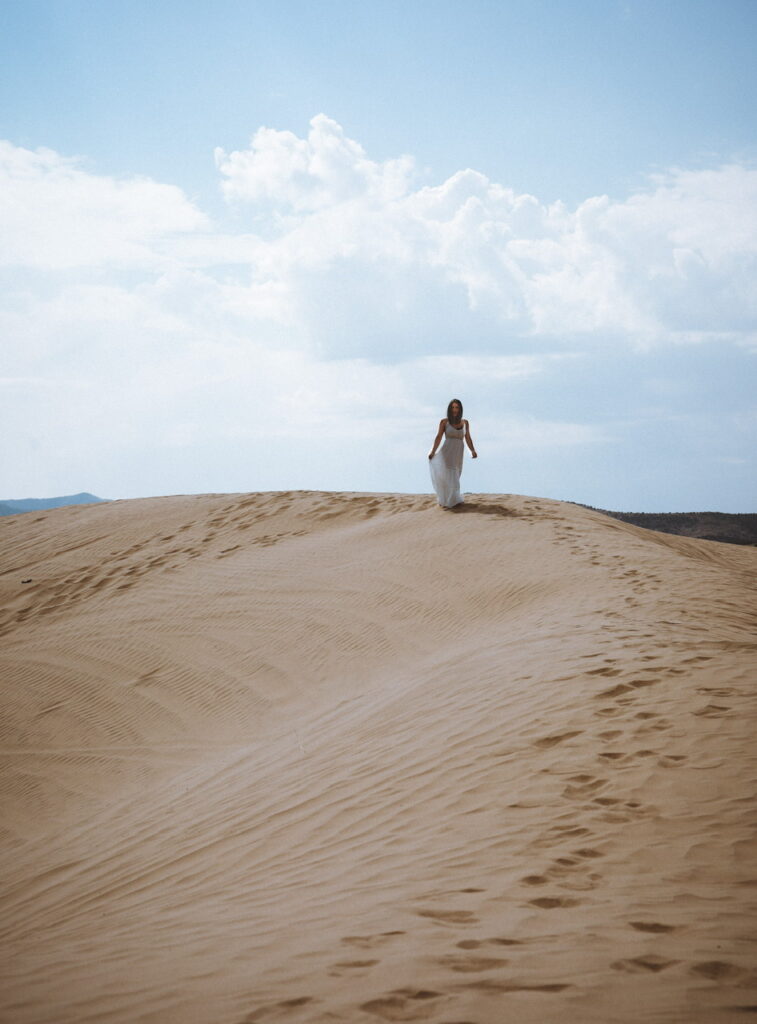
- Little Sahara National Recreation Center – 1 hour 20 min drive from Provo, UT. $20 entry fee per vehicle. You’ll drive right up to the sand dunes + park. Then you can get out and walk around in the dunes!
- Big Rock Candy Mountain (this is in the middle of nowhere + there isn’t much sightseeing to do, but it was sentimental to my childhood, so I insisted we visit!
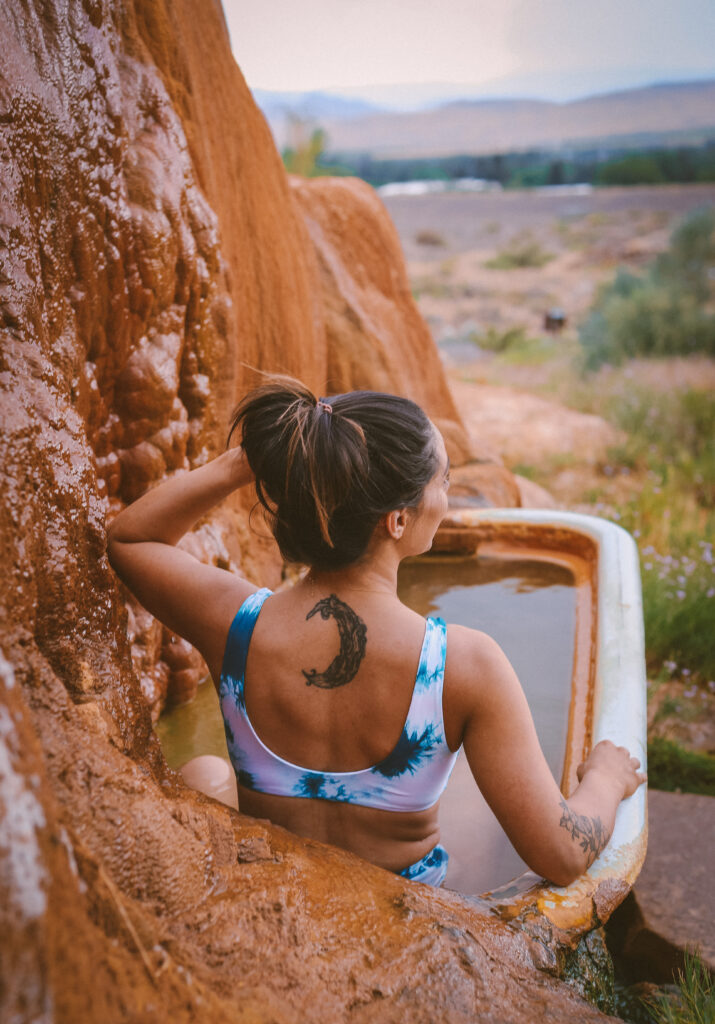
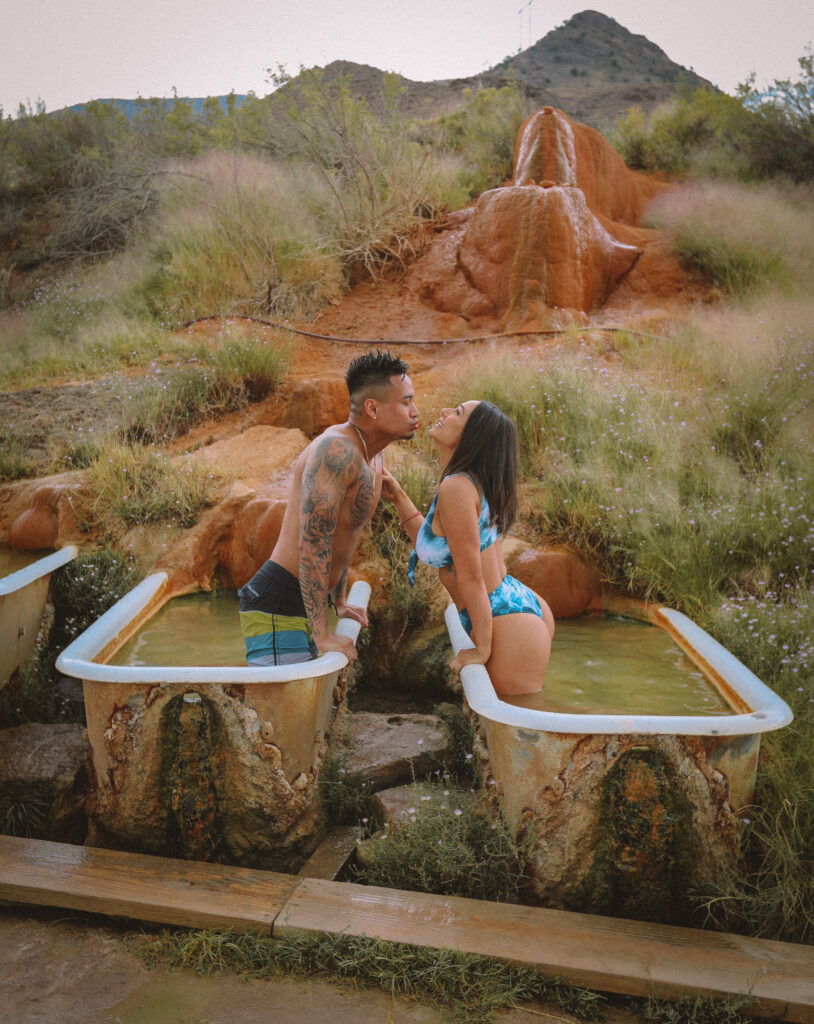
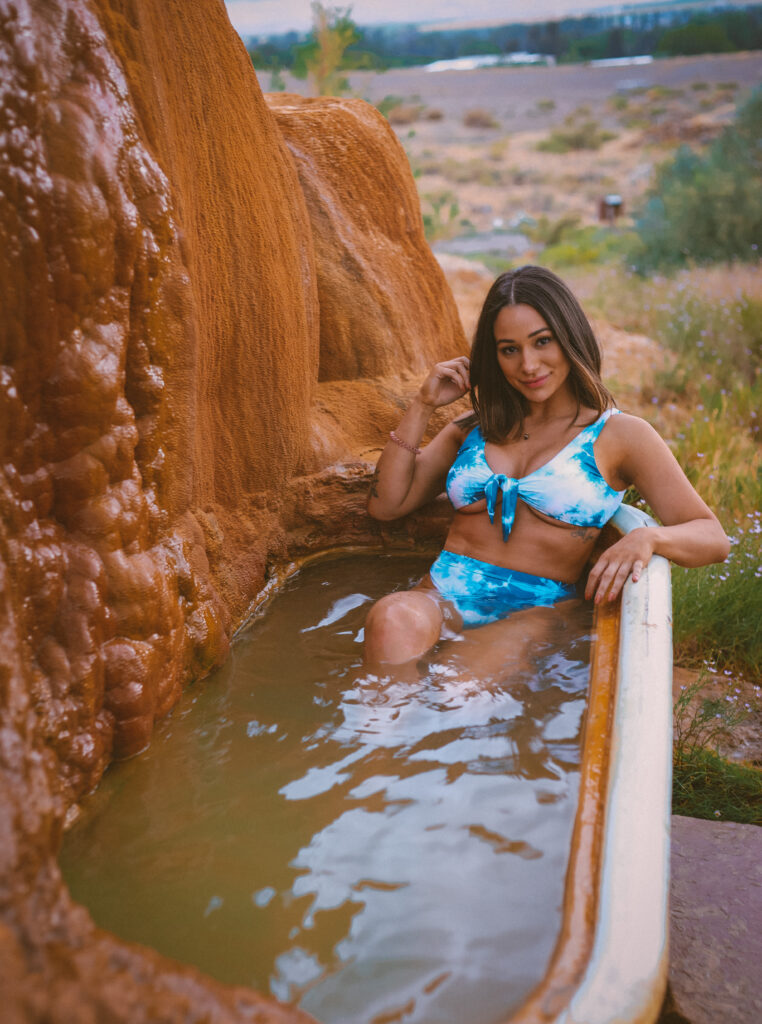
- Mystic Hot Springs – 2 hour drive from Little Sahara. By reservation only during COVID- soaking passes are $25/person for 2 hours. 15 min drive out of Richfield, UT.
- Stay the night in Richfield.
DAY 4:
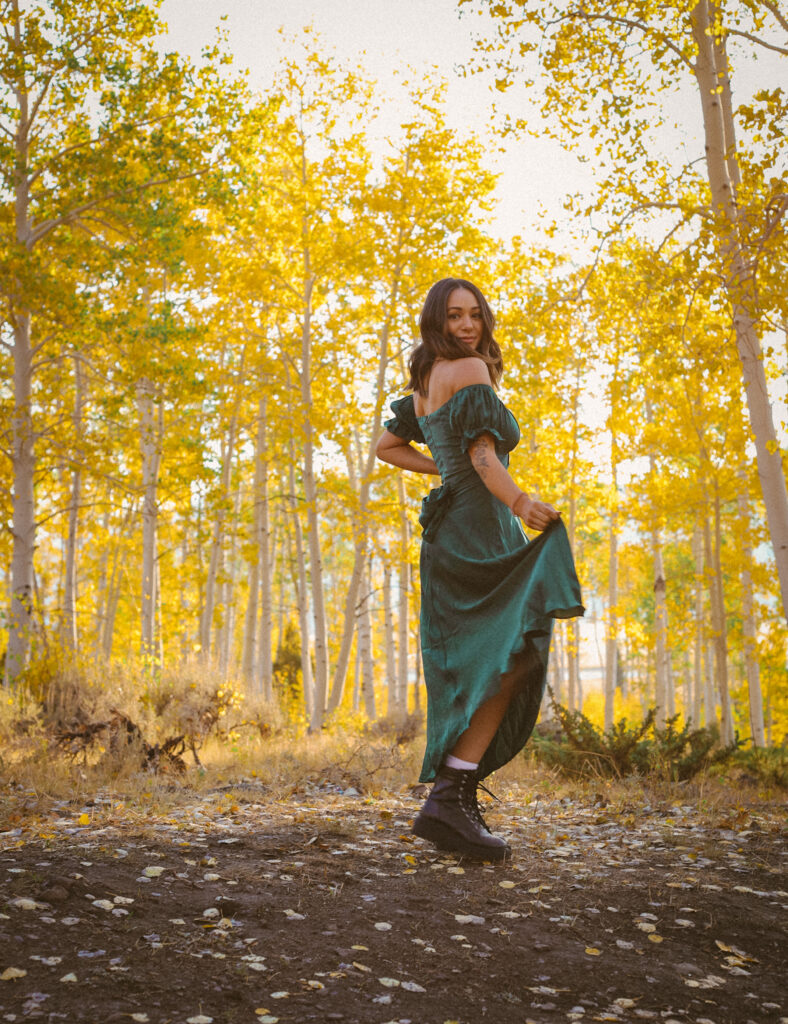
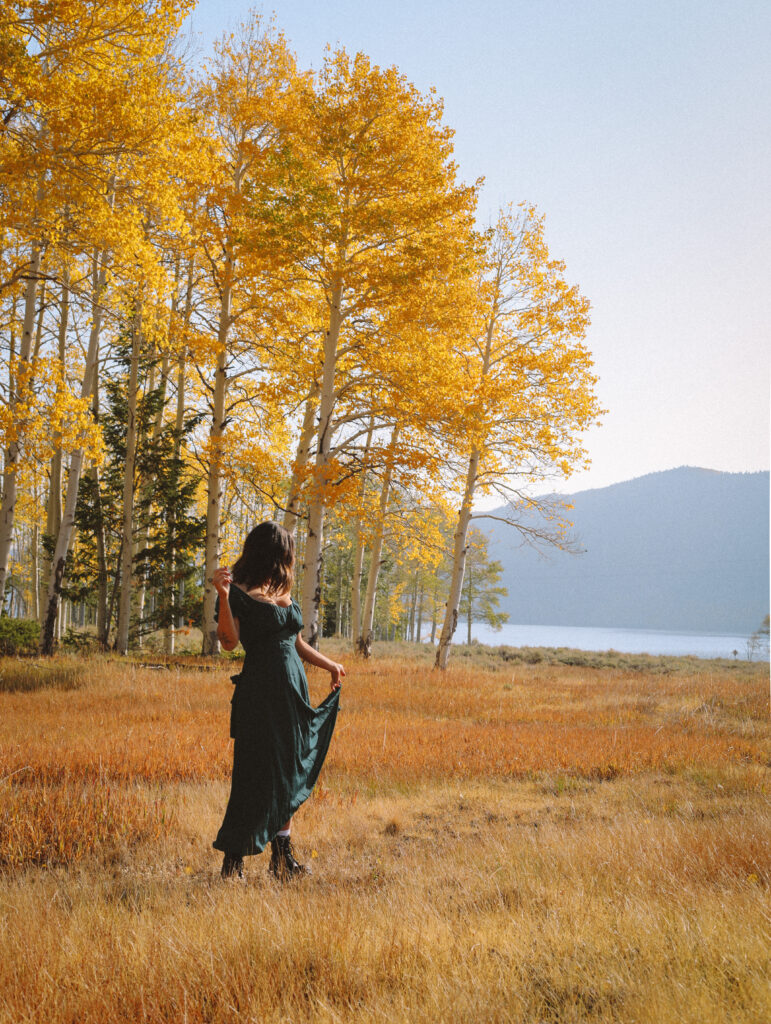
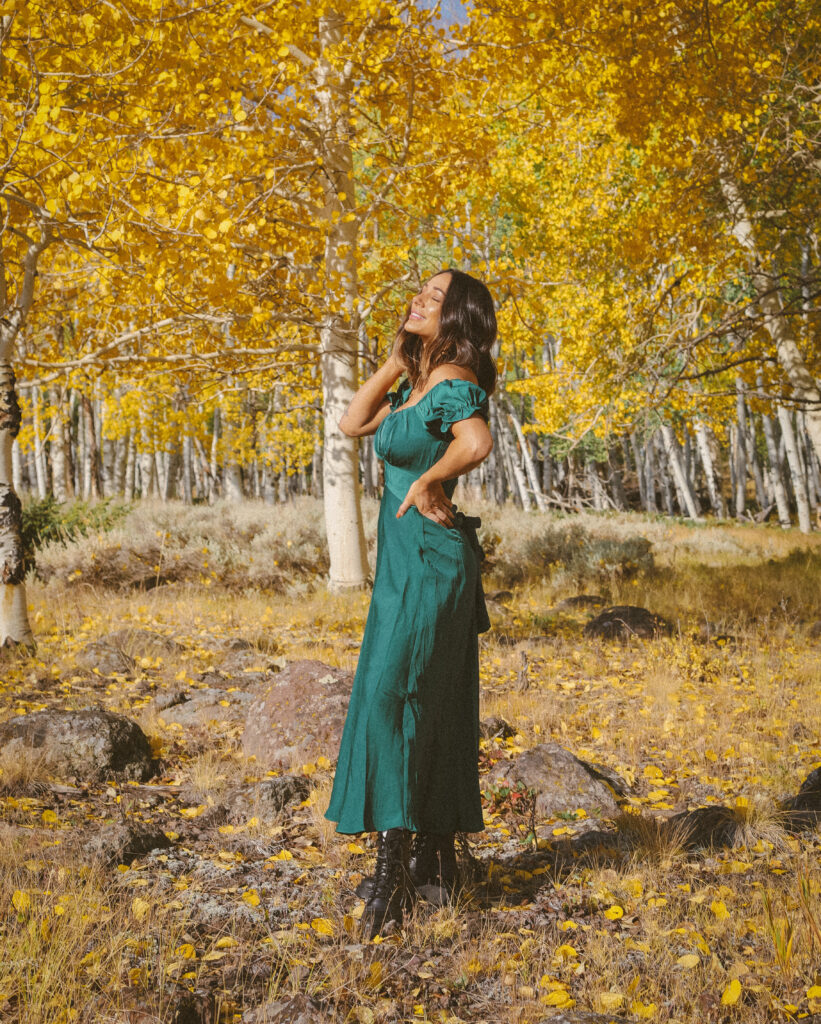
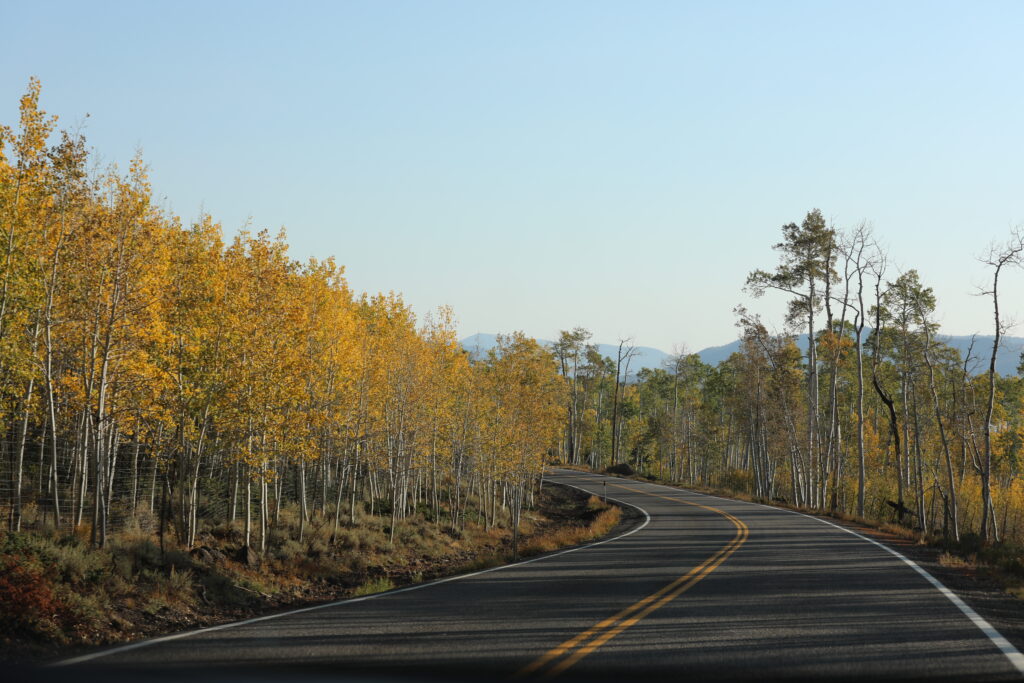
- Visit Pando Aspen Grove in Fishlake National Forest for sunrise. 55 min drive from Richfield, UT. (We did this in late September to see the leaves change color on the aspen trees- it was phenomenal! If you don’t go during fall, it still would be incredible to visit.) Pando Aspen Grove is the world’s largest single living organism. The trees all have identical genetic makeup due to being connected by one giant underground root system! Look for mile marker 6 to find the beginning of the grove, and don’t drive on any dirt roads unless you have a 4×4, or you will definitely get stuck!
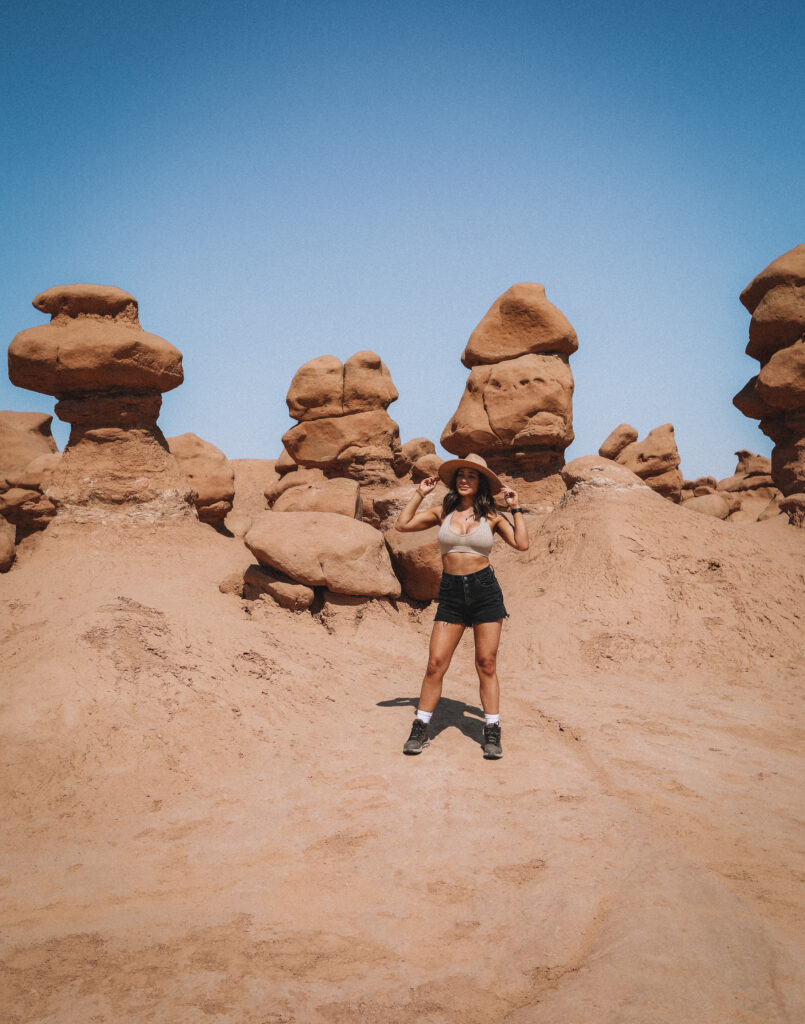
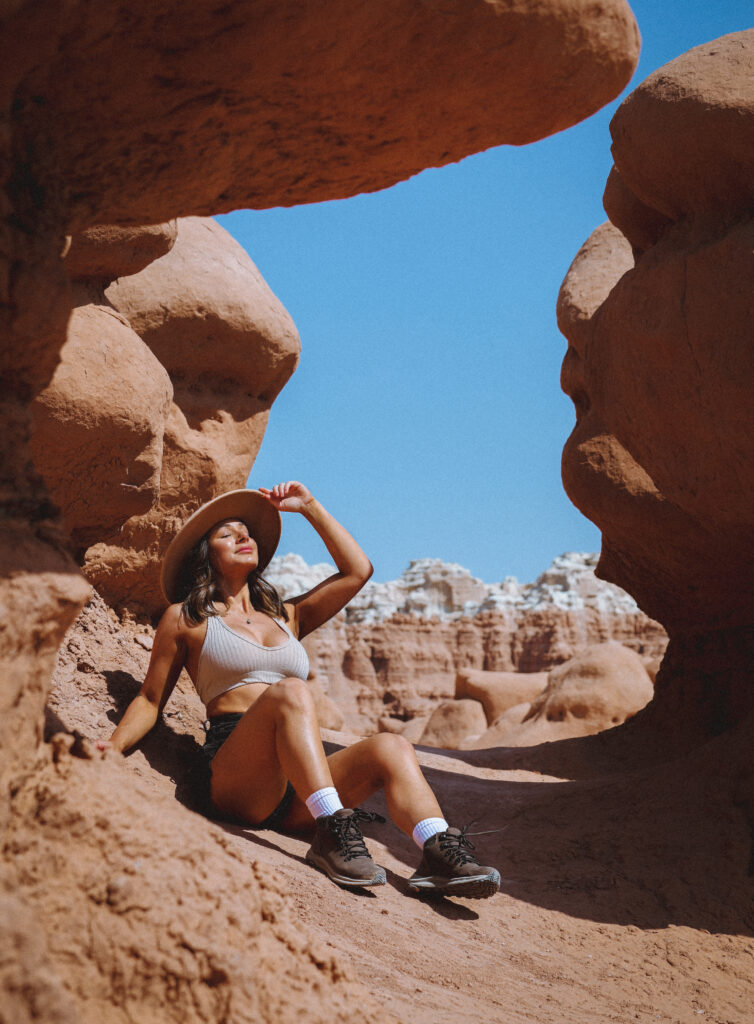
- Goblin Valley State Park – 3 hour drive from Pando Aspen Grove. You can park in the lot and take a flight of stairs right down into the Goblin valley- it’s one big maze filled with hoodoos! There’s no trail so hangout as long as you’d like. We didn’t do any actual hikes here other than exploring the main area. Your national park pass won’t work here since it’s a state park, so be ready to pay! $13 per vehicle.
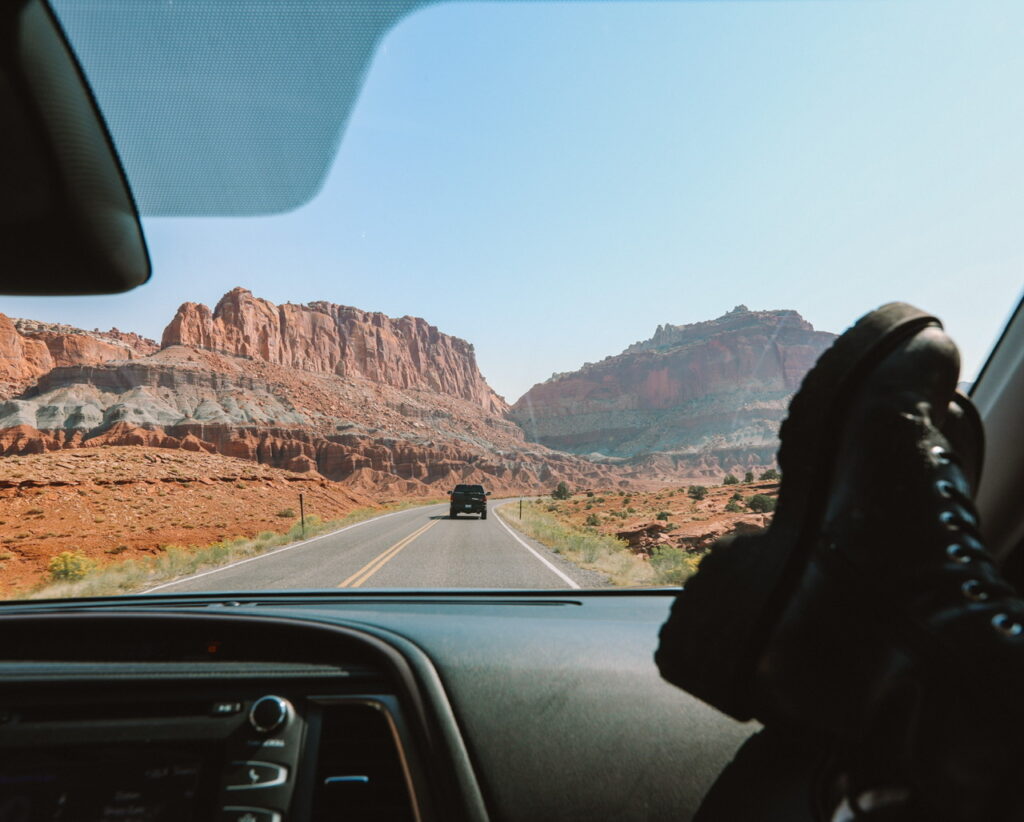
- Capital Reef National Park -definitely one of the most insane, surreal, most scenic drives ever! We only passed through while heading into Moab, but there are plenty of places to pull over and explore, and a bunch of opportunities to hike! You don’t need to pay or use your park pass to drive through on HWY 24.
- Arrive in Moab, UT + stay the night at Aarchway Inn. (Moab is 1.5 hours from Goblin Valley State Park)
DAY 5-7:
Explore Moab, Utah!
First, Moab is one of the best places we visited during this trip + possibly one of my favorite places in the entire country. They get 3 million visitors a year and it is rapidly growing to keep up with the tourism. Moab is so popular because it’s considered the Gateway to the Mighty 5 – Arches, Bryce Canyon, Canyonlands, Capitol Reef, and Zion National Parks.
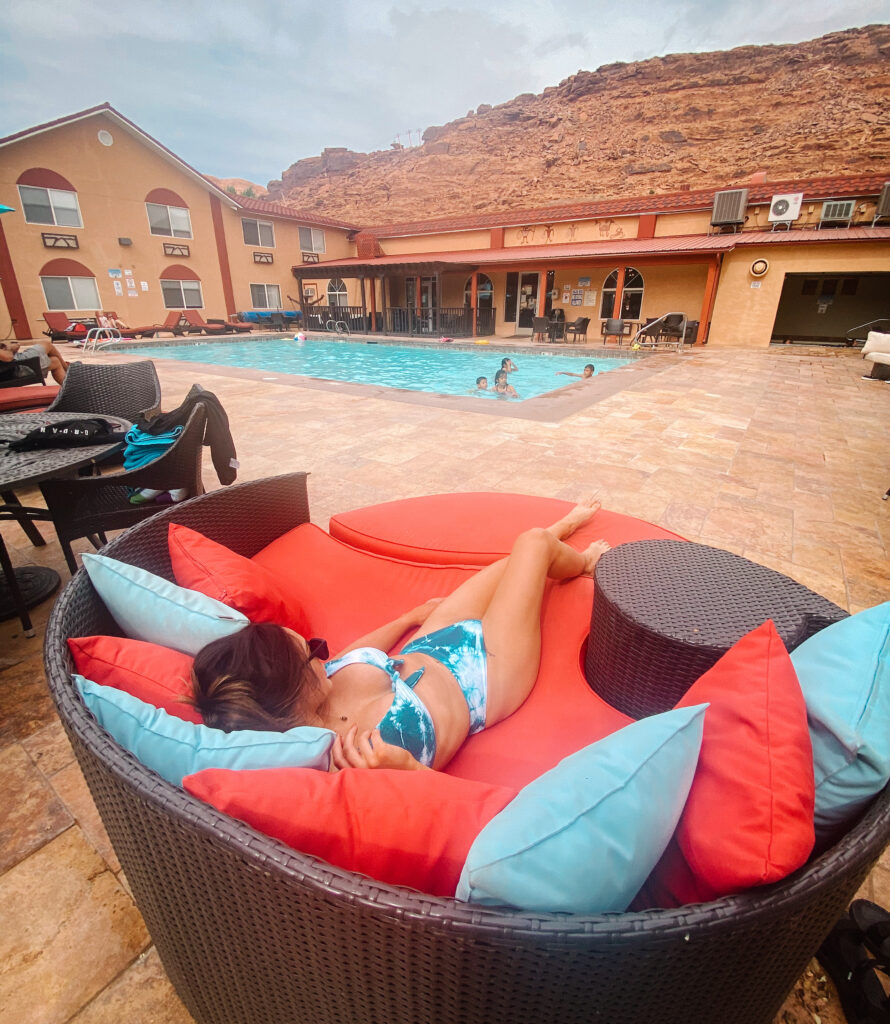
We stayed at Aarchway Inn the entire duration of our stay, and it really felt like it became our home! They have a coffee bar in the lobby, and the best free breakfast I’ve ever had at any hotel. When I say they have endless options…..I’m not exaggerating. The pool also has a beautiful mountain view. The best thing about staying here though is that Arches National Park is less than 10 minutes down the road…it’s basically your backyard. That means you’re avoiding a lot of traffic on the 2 lane road that is Moab.
Things to do in Moab:
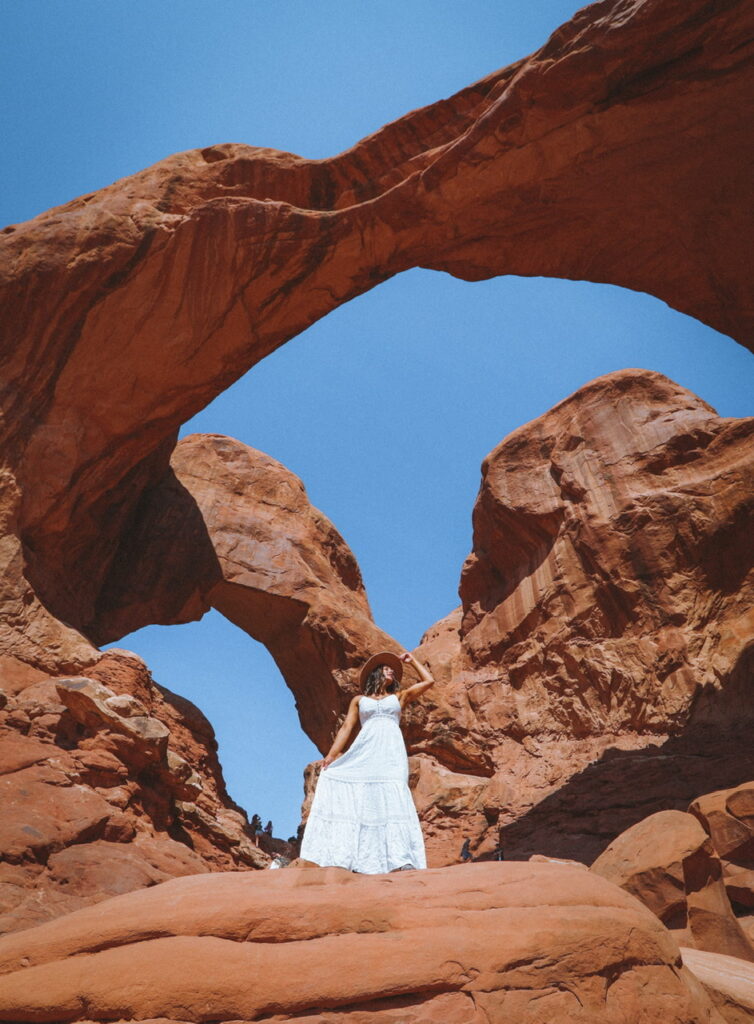
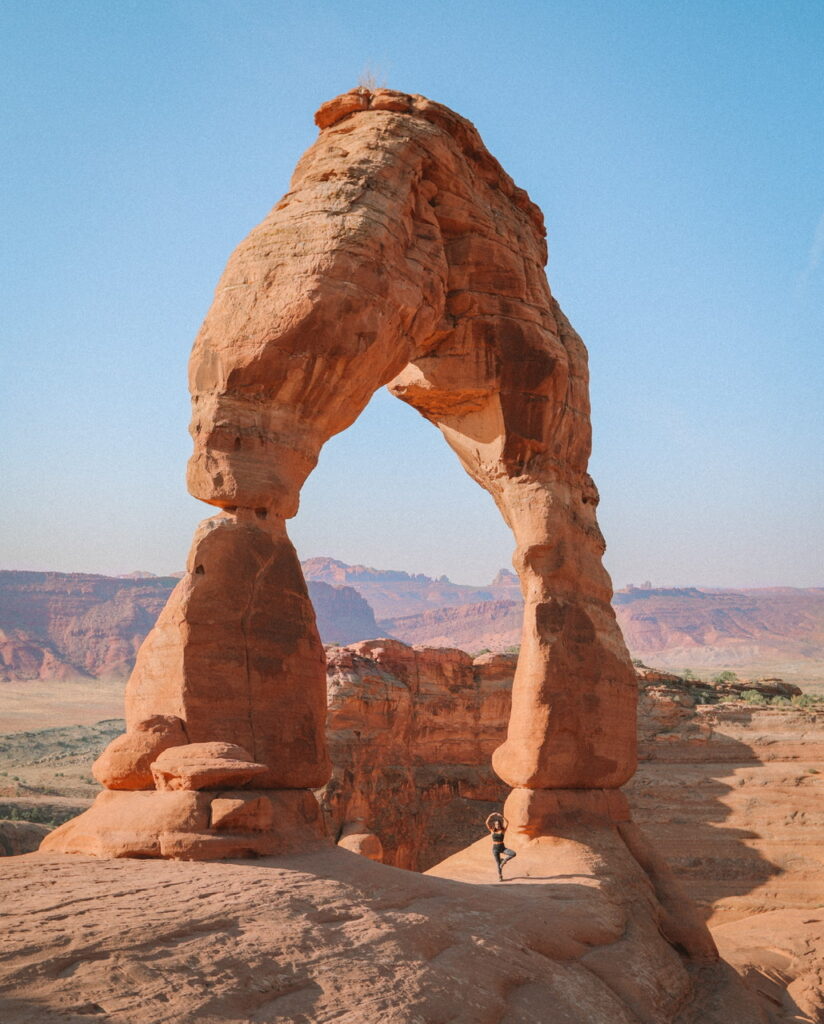
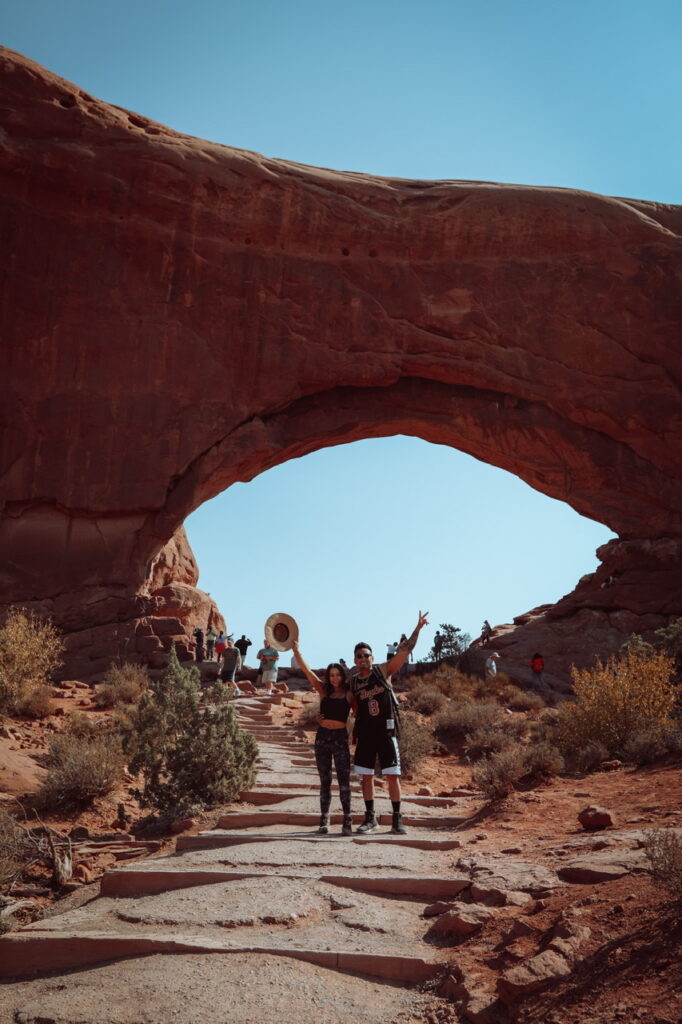
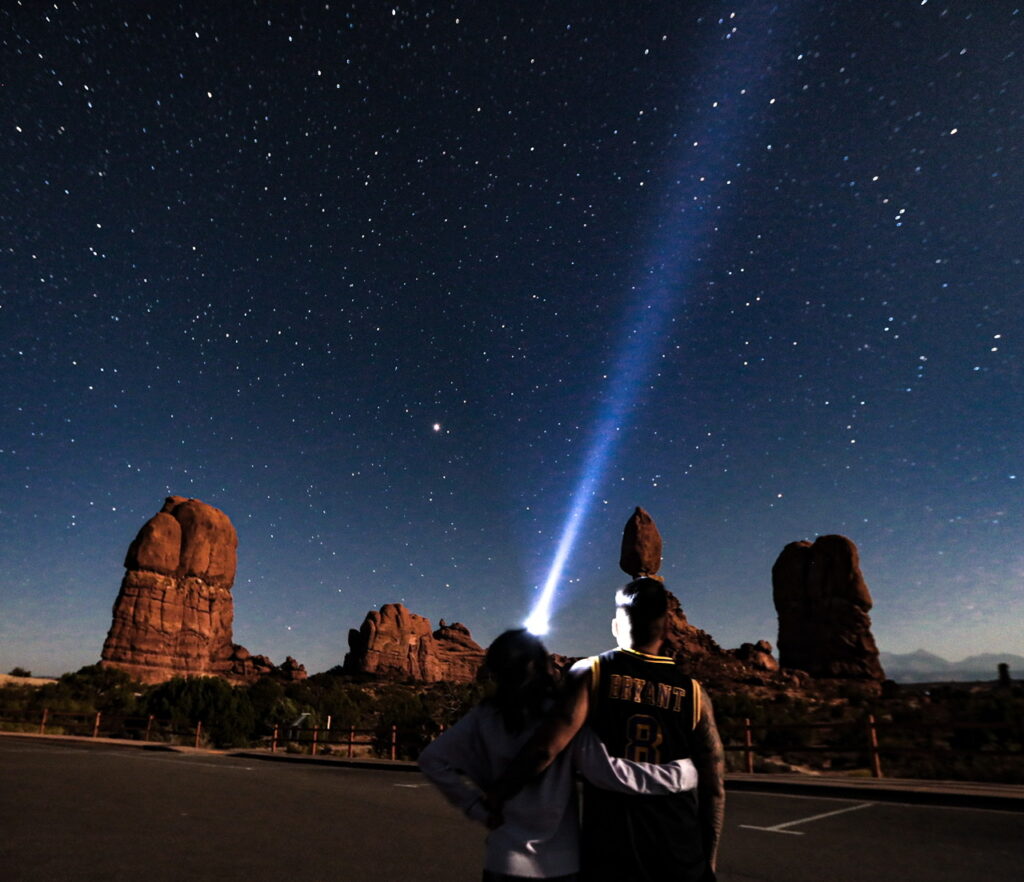
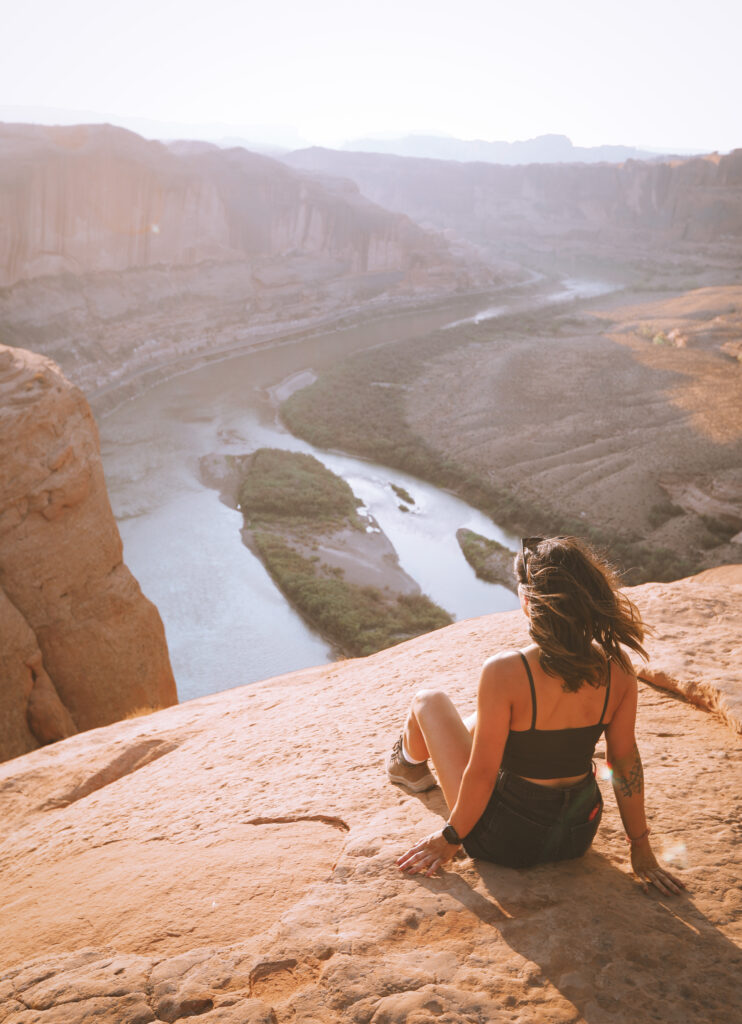
- Arches National Park. Wake up early and hike to Delicate Arch, but come prepared with plenty of water, sunglasses, a hat + sunscreen. The elevation gets steep, quickly and there is no shade on a hot day, but the view is beyond rewarding at the end! Also check out Balanced Rock, Double Arch, and Window Arch. You can drive up + park in the lot right near these- they’re all .5 mile of a walk or under. If you’re an avid hiker, get a permit and checkout Fiery Furnace, a slot canyon in the park! Beautiful by day, but even more stunning at night, Arches National Park is a preservation for dark skies – there is no light pollution, so it’s an ideal place for stargazing and astrophotography.
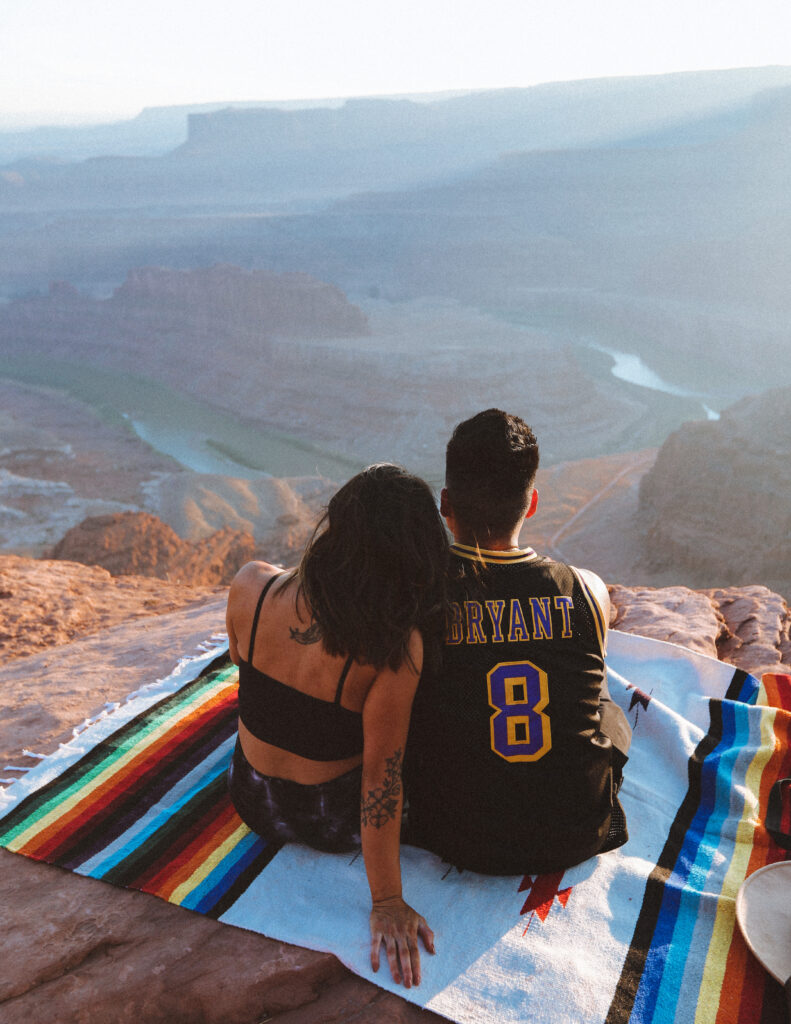
- Dead Horse Point State Park – 45 minutes from Moab is the most peaceful place in Utah to watch the sunset. If you get there before 5pm it’s $20 to enter. The roads are winding and curvy through some steep cliffs, but once you get to the overlook you’ll be happy to lay out a blanket and relax. If you plan to visit here earlier in the day, it’s great to tack on before/after Canyonlands National Park- they’re only a 15 minute drive from each other.
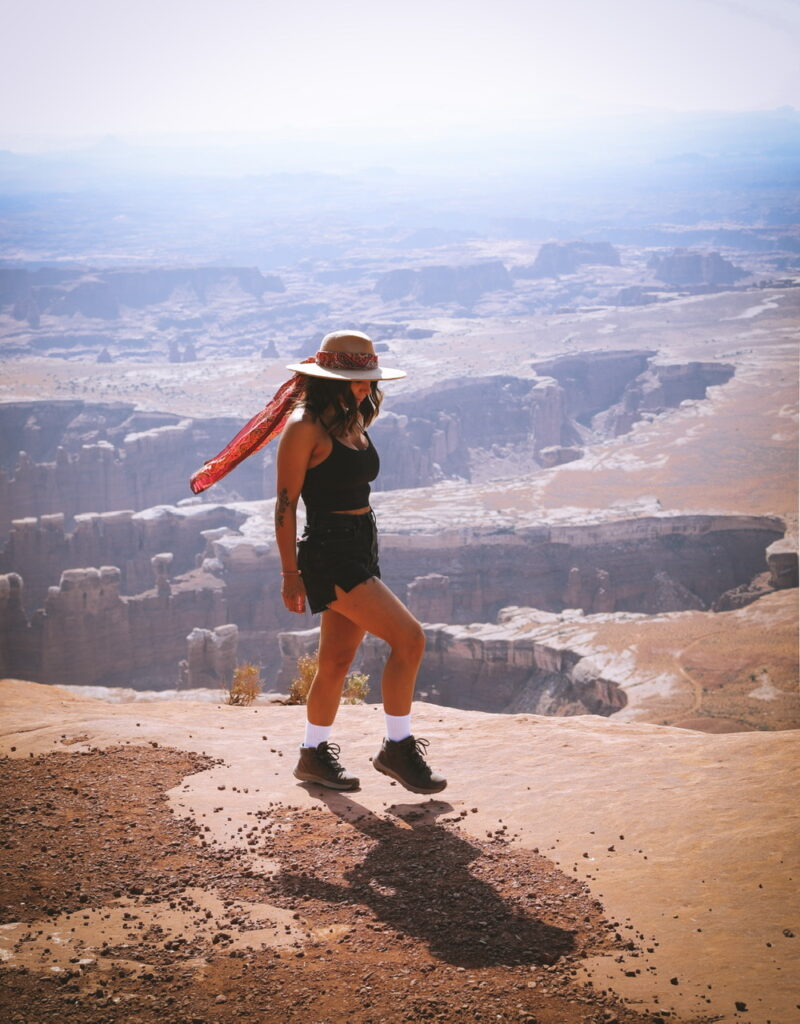
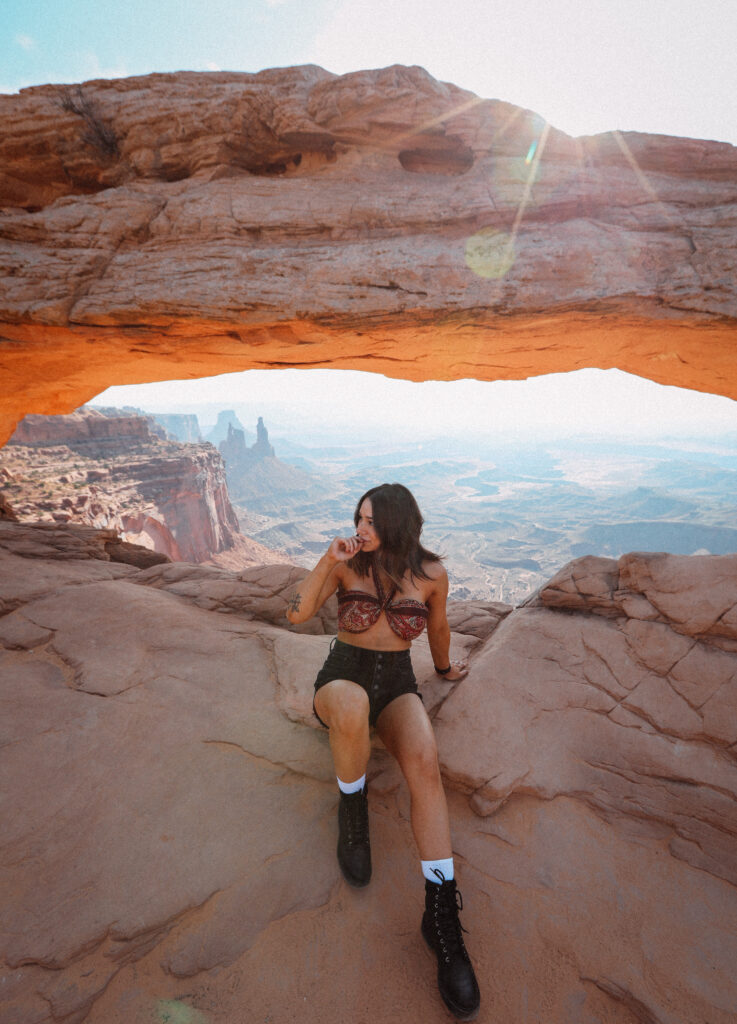
- Canyonlands National Park– 45 minute drive from Moab (in the same direction as Dead Horse Point) Canyonlands consists of 3 main areas, each with their own different appeal. For longer, more intense hiking, check out The Needles or The Maze. We only ventured to Island in the Sky, which is appropriately named. Here you’ll find the infamous Mesa Arch, but also check out Grand View Point. You will not believe how high up you are!
Once you’ve got your fill of the national + state parks, there are plenty of other adventures waiting for you in Moab!
- Hot Air balloon rides
- Horseback riding
- Rock Climbing
- Canyoneering
- 4×4 tour through Hell’s Revenge
- Rafting the Colorado River
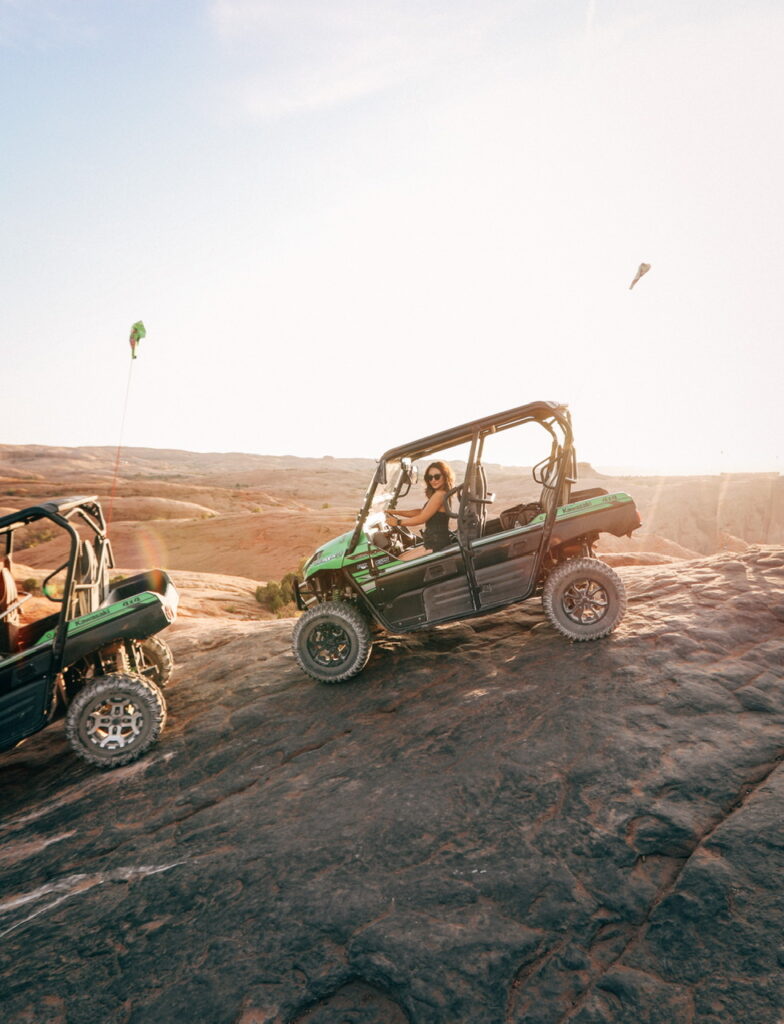
We did a 4×4 tour in a UTV with Moab Tourism Center through Slickrock – it was nerve wracking, exhilarating and terrifying if you’re not used to steep cliffs and mountains…which I wasn’t! If you’re an adrenaline junkie, I would absolutely sign up for this experience! As scary as it was, I never felt unsafe. I also let Kevin drive the entire time because I was too busy making sure I didn’t shit my pants LOL.
Our raft trip was a bit more relaxing. We went 45 minutes up the mountain with Moab Adventure Center (different company!) and 6 of us hopped in a raft to float the Colorado River. It was considered level 2 rapids (on a scale of 1-5) since we went in the fall, the water was more calm. It was pretty fun to hit some quick white water, and we also made some cool friends. I would love to come back and do a level 5 white water rafting trip with them in the spring!
DAY 8:
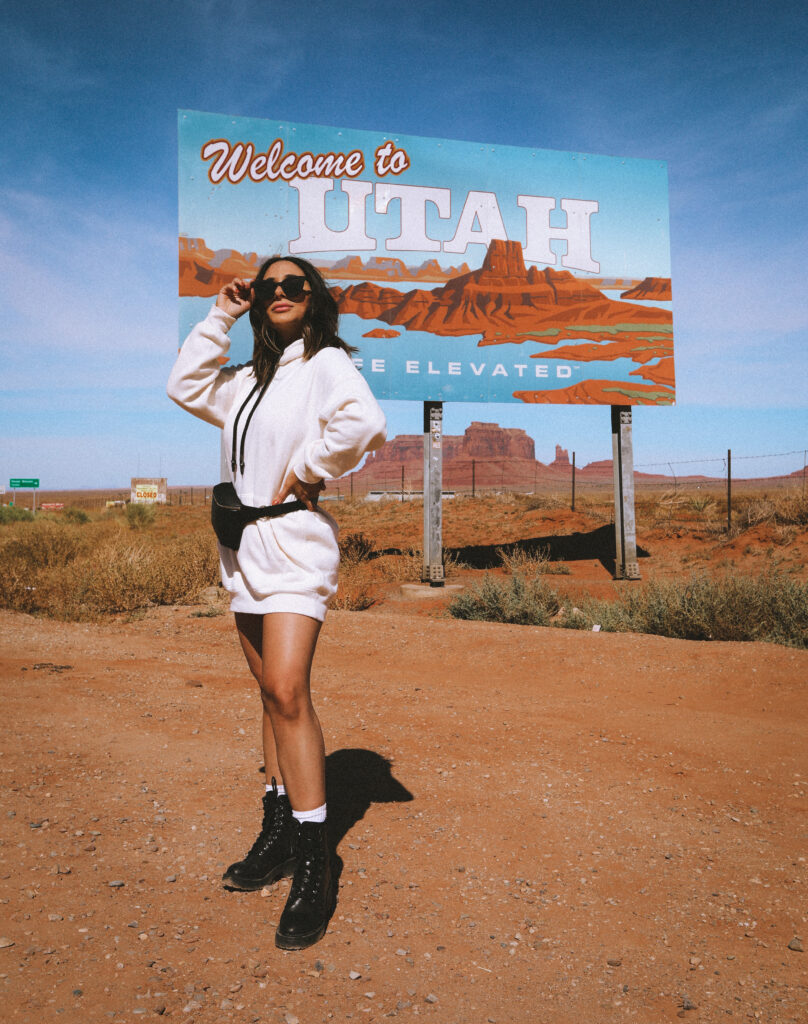
- Stop at the Welcome to Utah sign on the border of Arizona and Utah! This is located right near monument valley. It’s 2.5 hours from Moab.
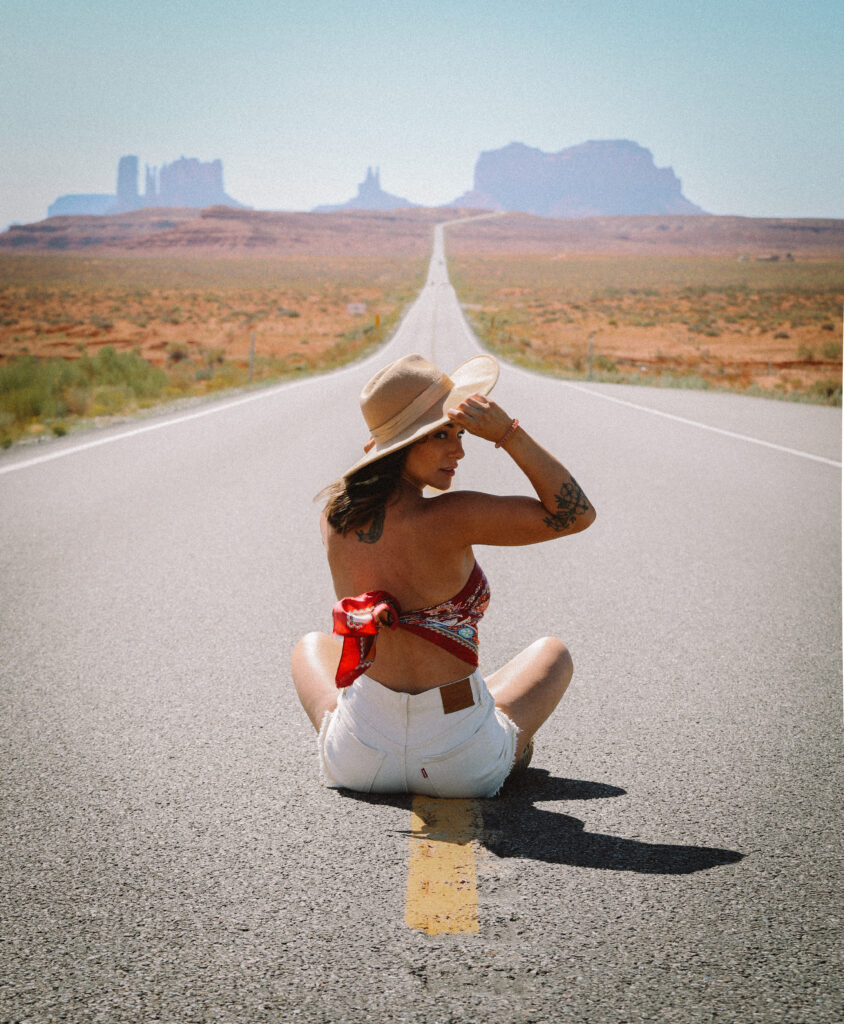
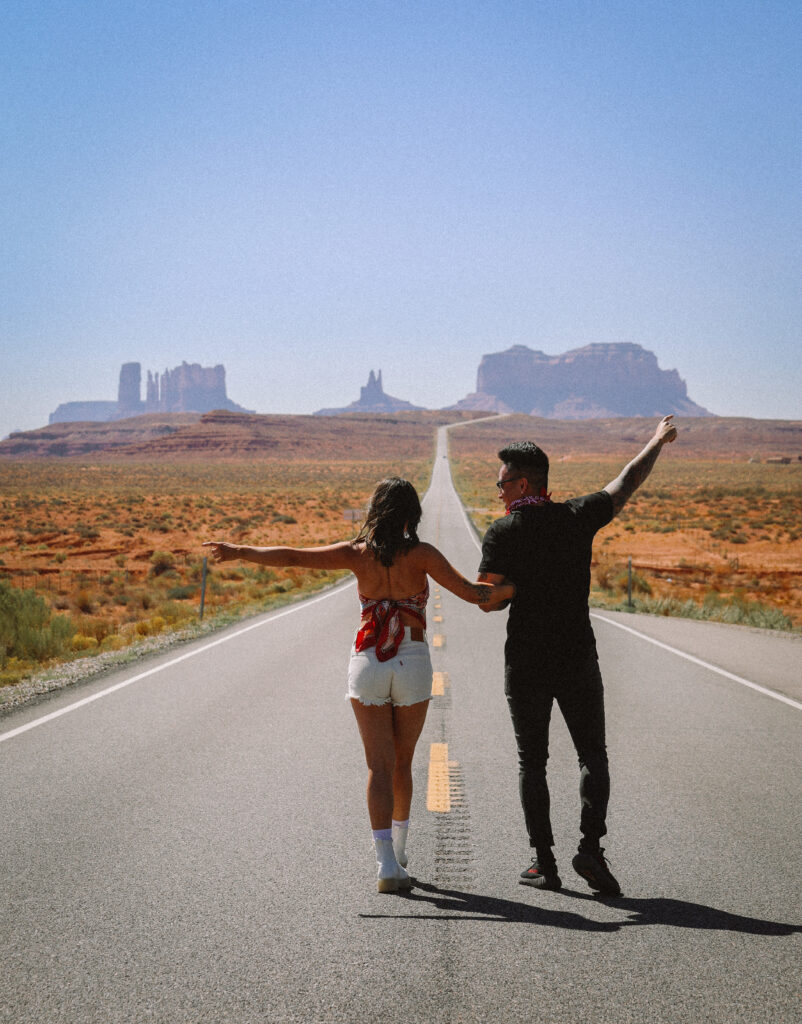
- Monument Valley – at this point you’ll be in Navajo Nation (all Navajo Nation parks are currently closed due to COVID, but you can still pass through for some epic shots and scenery.) This famous location is one of the most photographed places on earth, but many may recognize it from the movie Forest Gump! Run Forest, RUN! As you drive, you’ll see plenty of places to pull off the road to admire Monument Valley.
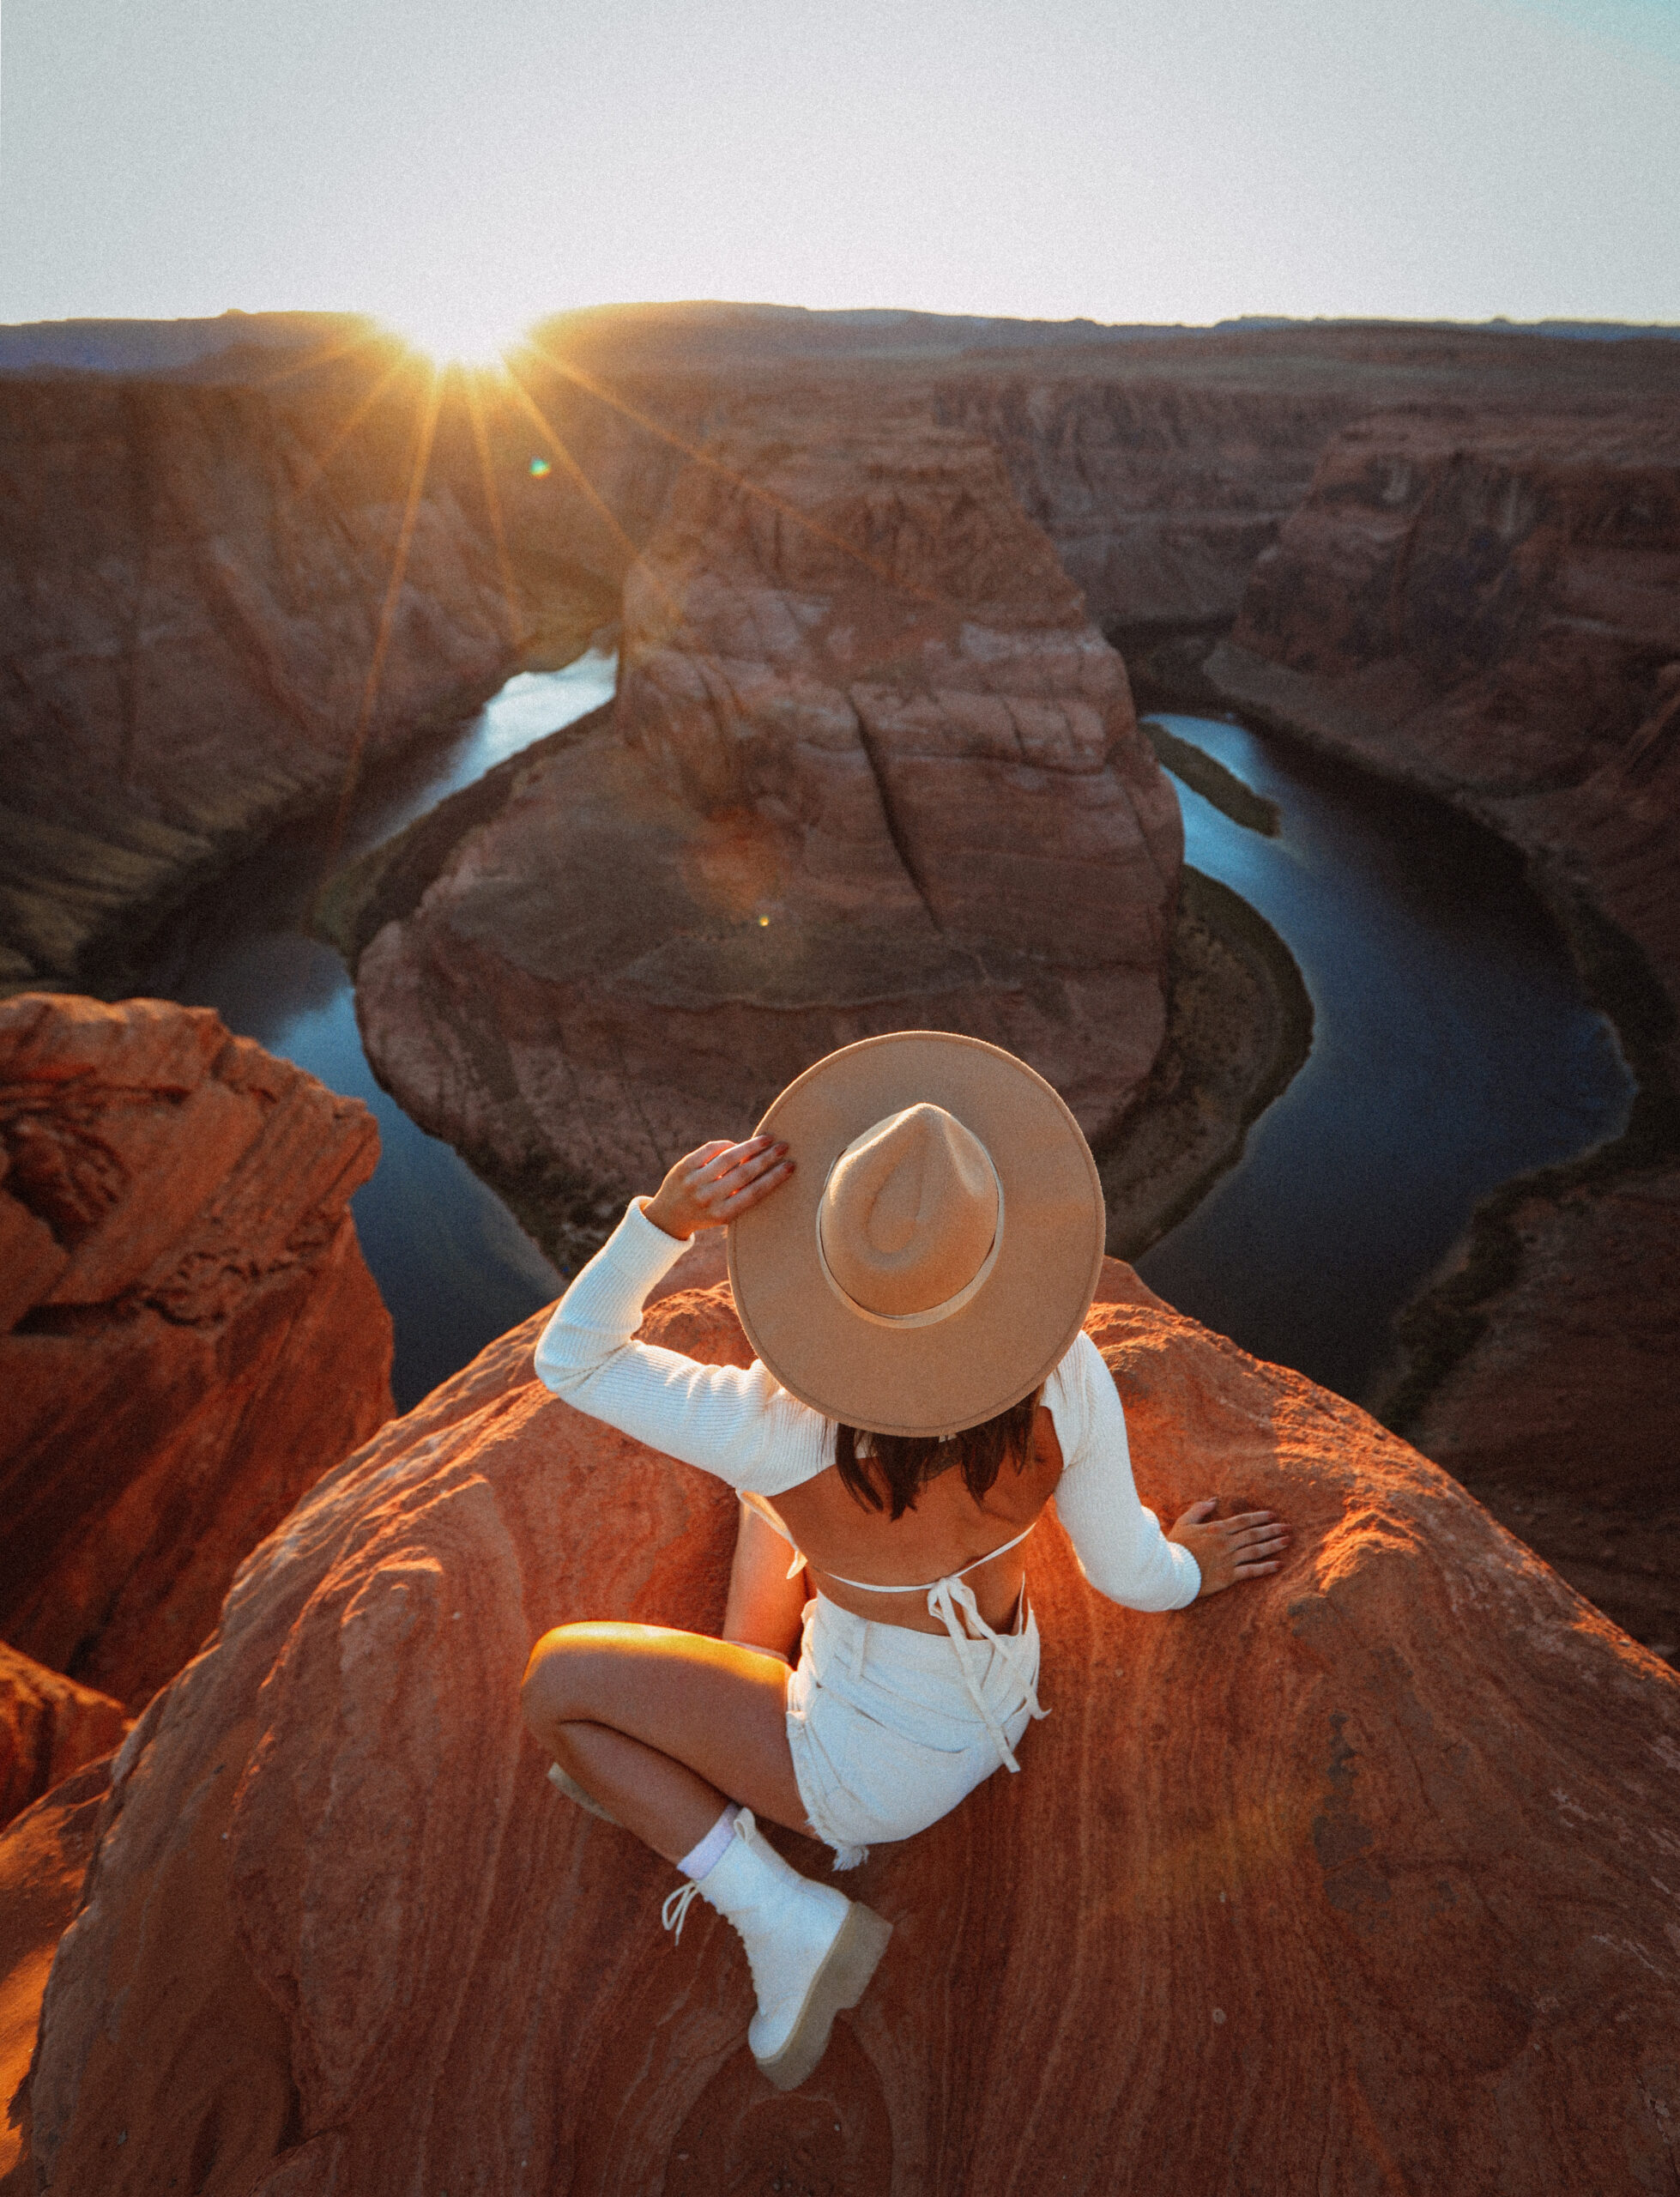
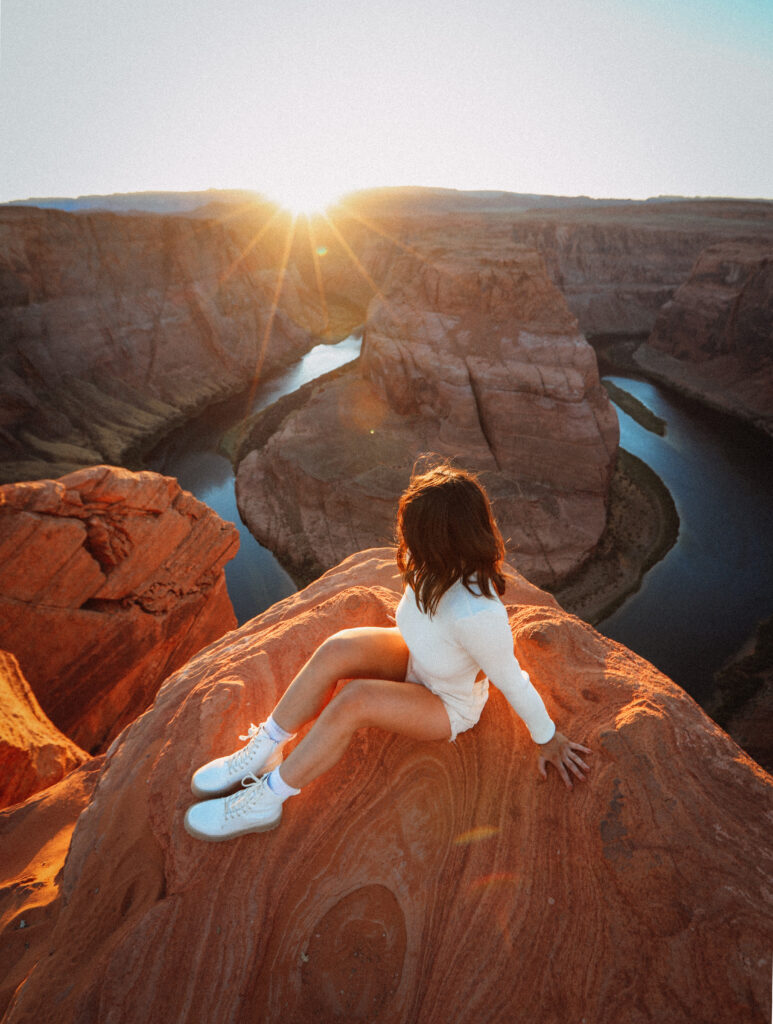
- Horseshoe Bend in Page, AZ. About 2 hours from Monument Valley. $10 entry fee per vehicle. It’s busiest at sunset, but without a doubt it’s the best time of day to photograph here. Plan to get there about an hour before the sun sets so you can find a great spot to sit and watch. Don’t worry if you are short on time, you drive in and park, and walk less than a mile on a newly paved walkway right up to the overlook. This is hands down the most jaw dropping place on this itinerary, in Arizona, maybe in the country? Idk, decide for yourself. I was blown away at how massive and how deep the canyon is. You’ll have no problem finding a place with a great view simply because it’s so gigantic.
- Stay the night in Page, Arizona.
DAY 9:
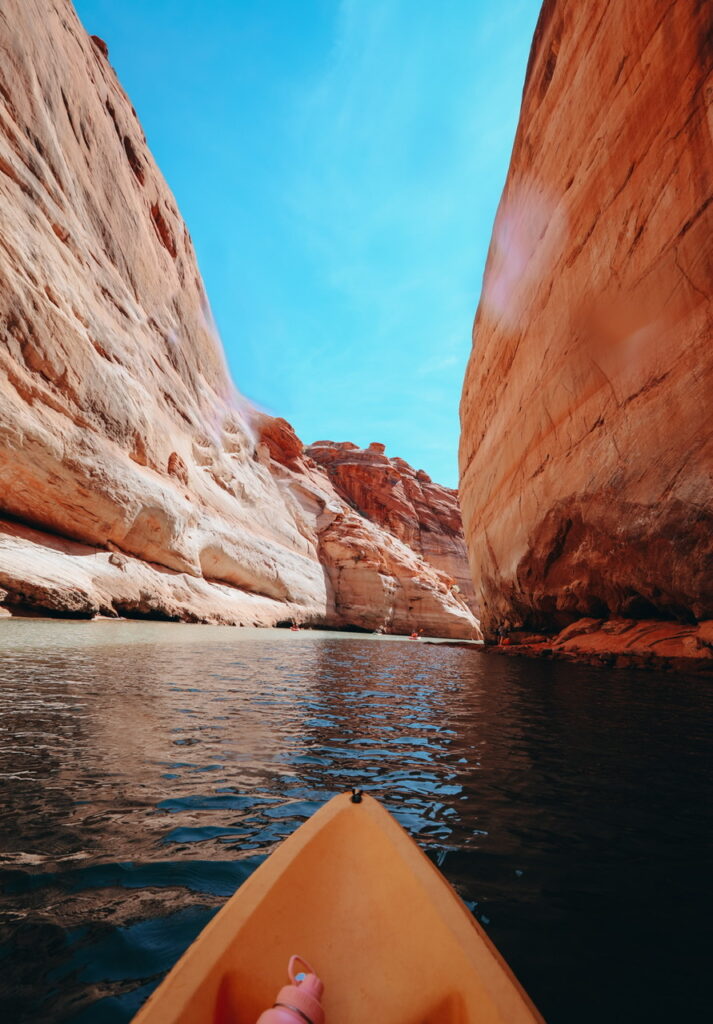
- Lake Powell. You can’t miss this place if you’re in Page- its beautiful and huge! You can visit the marina or check out The Chains at Lake Powell if you want to relax and enjoy the water. There’s also plenty of water activities! We rented kayaks from Lake Powell Paddleboards ($100 for a double), and explored our way to….
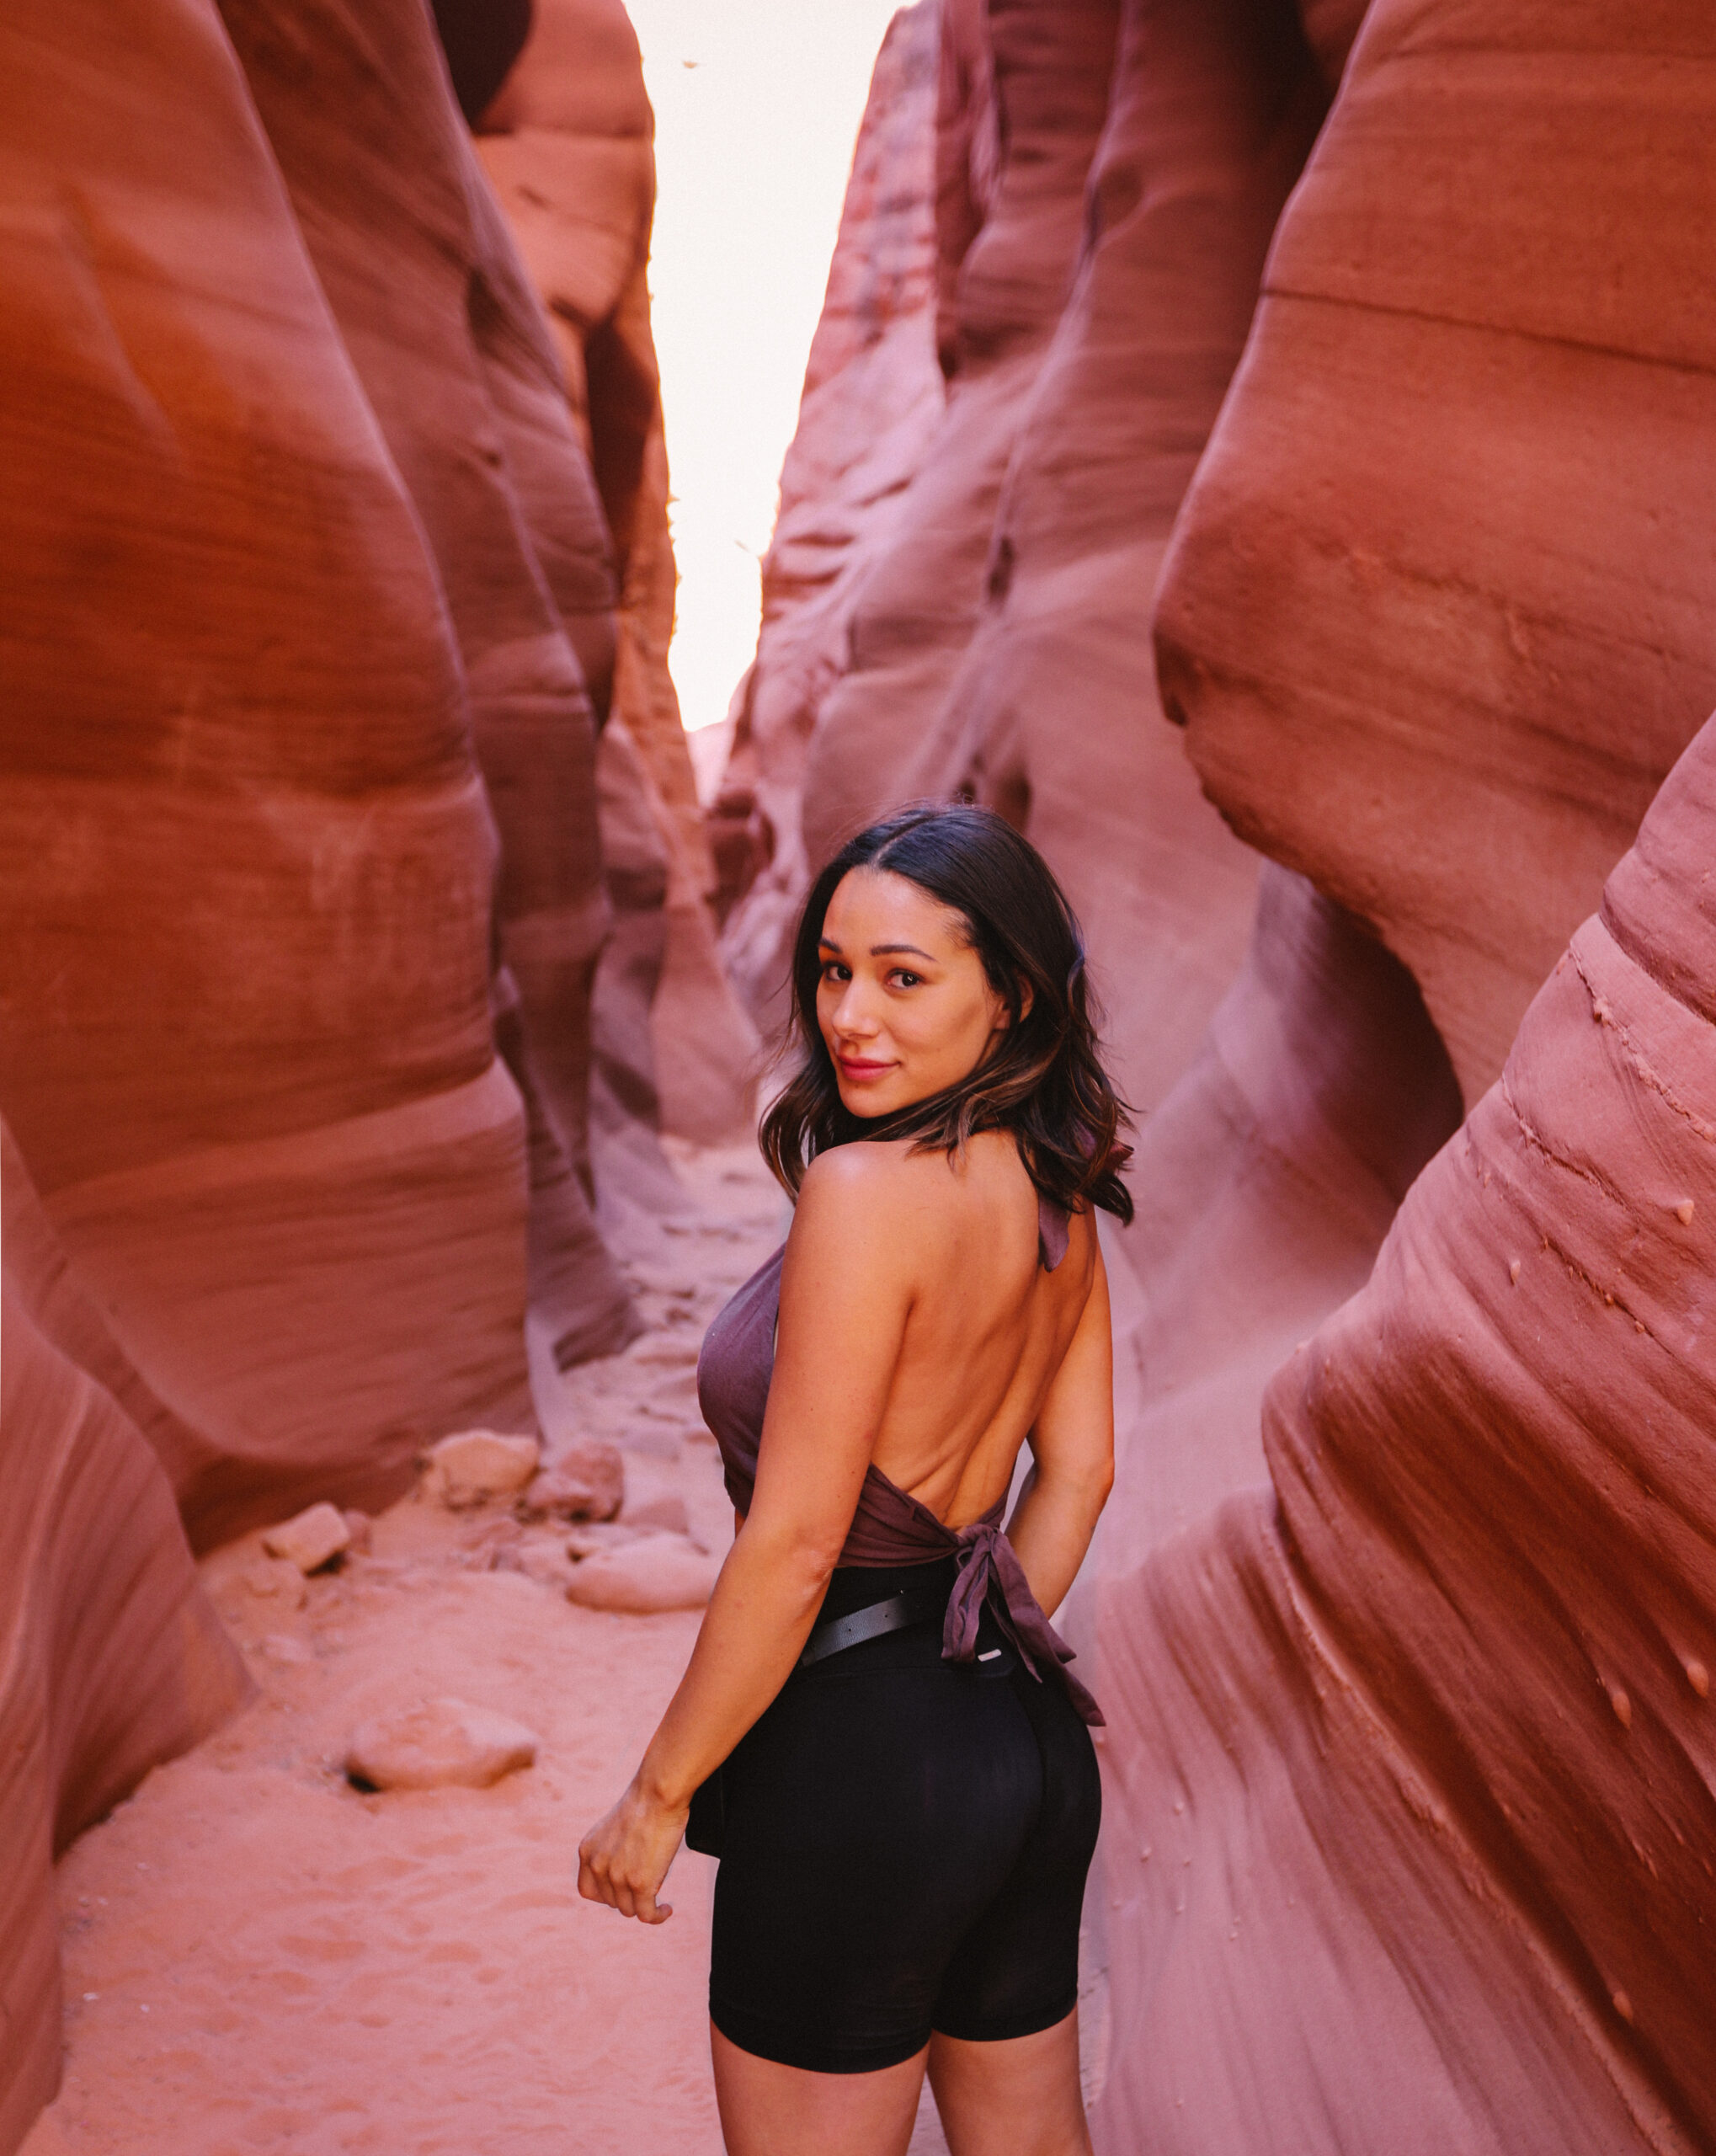
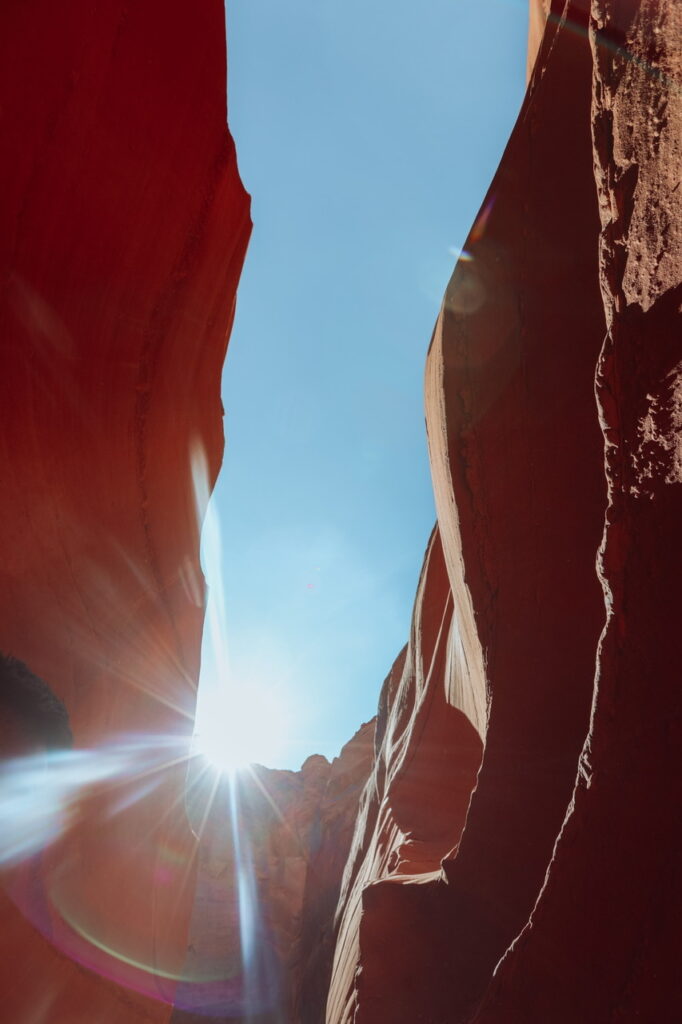
- Antelope Canyon is a must do slot canyon hike in Page. Since the land is privately owned, tours are required to explore both upper and lower Antelope Canyon. You can purchase tickets in advance for larger or even private tours, but due to COVID, Navajo Nation has it officially closed to the public. Needless to say, renting a kayak, paddle board, boat or jet ski is a brilliant option to kill two birds with one stone! We kayaked down Lake Powell right into a secret little opening for Antelope Canyon, and made a round trip back. It took us about 5 hours total. Pack snacks for this adventure!!!
- Reflection Canyon is a great option for avid hikers who like a challenge. We didn’t have time to visit this stunning spot ourselves, but it’s definitely worth looking into if you like to backpack! (This is a 19 mile trail- most people split into 2 days.)
- Sleep in Page, AZ.
Day 10:
- Now is where you will find it best to visit The Wave, a cool little spot in Kanab, UT where the rock forms look like swirls that look otherworldly. 1 hour drive from Page, Arizona. It’s a 6 mile hike to get to the infamous swirly portion of The Wave. Permits are 100% required to visit, and can only obtained one of two ways. Option 1: Apply for a permit 4 months in advance for the date you’d like to attend. Option 2: Visit the Grand Staircase Escalante Visitor Center to enter a lottery drawing to win a permit for the next day. Only 20 visitors total are allowed entrance per day- 10 of those permits are drawn 4 months in advance & 10 are drawn 24 hours in advance. It’s super important to note that if you’re coming from Page, AZ, you MUST submit your application by 9AM PST (NOT MOUNTAIN TIME- you will lose 1 hour on the drive to Kanab) at the visitor center. Only 1 person per group can enter- so larger groups have no advantage here! The lottery drawing will begin at 9AM sharp, where it will be announced that you either win or you don’t! Both days we attempted to get permits there were 80-90 applicants (on weekdays). Unfortunately we didn’t win the lottery to get to hike The Wave but there are so many other amazing things to do and see near Kanab, so have no fear if you don’t win a permit either!
- Grand Staircase Escalante National Park is a super short drive from the visitor center, loaded with tons of hikes and beautiful views. We didn’t get to spend any time here but add it to your list if you can!
- Coral Pink Sand Dunes are another cool spot to check out if you have time to spend in Kanab.
- Spend the night in Kanab, UT.
DAY 11:
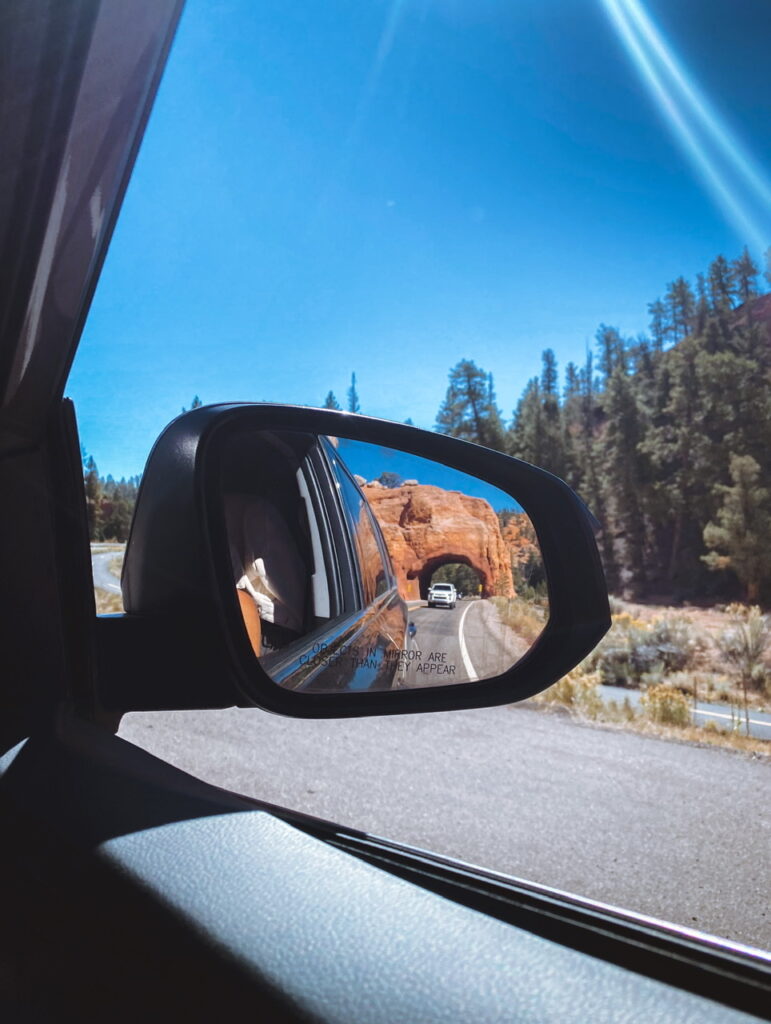
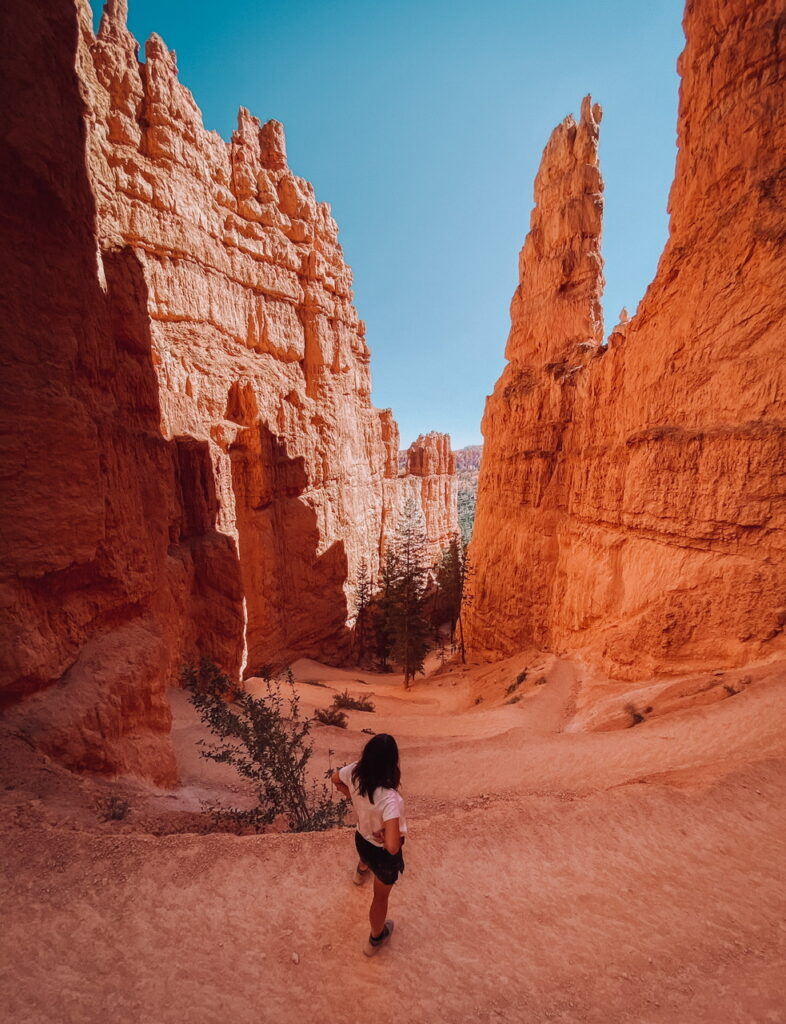
- Wake up and make your day to Bryce Canyon National Park. (1.5 hour drive from Kanab) While driving, you will definitely want to take highway 12, which is the scenic route you won’t regret. Once you start seeing some crazy looking rock formations sprinkled with ponderosa pine trees, you’ll drive straight through an arch over the roadway and that’s when you know you’re almost there! Bryce Canyon is so unique and has a totally different feel than any of the other national parks. The most popular trail is the Navajo and Queens Trail Loop. It’s recommend to do counter clockwise- we came to the conclusion that it’s because doing it the opposite way would be exhausting from the elevation change! Start at Sunset trailhead and hike to the Sunrise trail. There are also plenty of pullouts to stop and enjoy some stunning views.
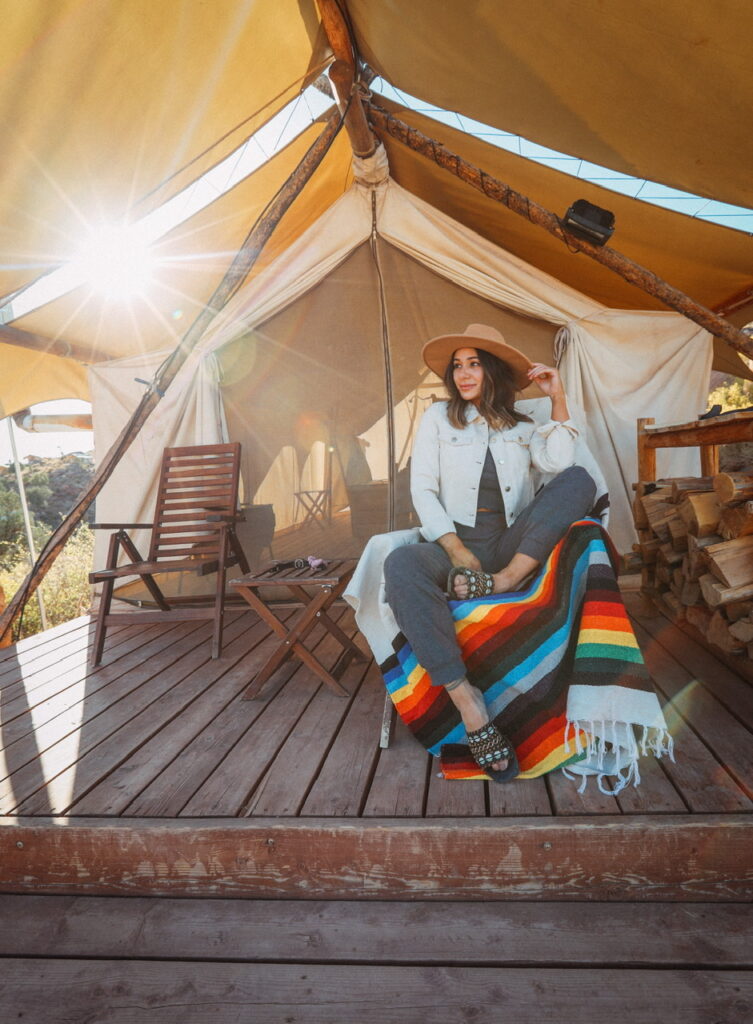
- This trip is a great opportunity to try glamping if you haven’t before! Glamping = glamorous camping. We had a huge tent, our own bathroom + shower, a space heater and a glorious view! We stayed at Under Canvas Zion, but there are so many options to choose from in the area.
DAY 12-14:
- Wake up in your luxury tent, and take in the sunrise.
- After you’re up and moving, you can get ready to fill your entire day with Zion National Park! New to the park since covid, you’ll want to purchase a shuttle pass for $1 at 9AM 24 hours in advance on recreation.gov. The park is pretty decent sized, so the shuttle is ideal, but if you don’t have a shuttle pass you can either hike or rent bikes to use once inside. Electric bikes are super popular here! You can drive into Zion if you’re up super early and park at the Visitor Center where you’ll catch a shuttle, OR park in Springdale near the Zion entrance where you can also catch a shuttle. Keep in mind the parking lots inside Zion fill up EARLY. Some areas of Zion were closed, but The Lodge area, The Emerald Pools, Angel’s Landing and The Narrows were all open! These were the hikes we did over the span of 3 days.
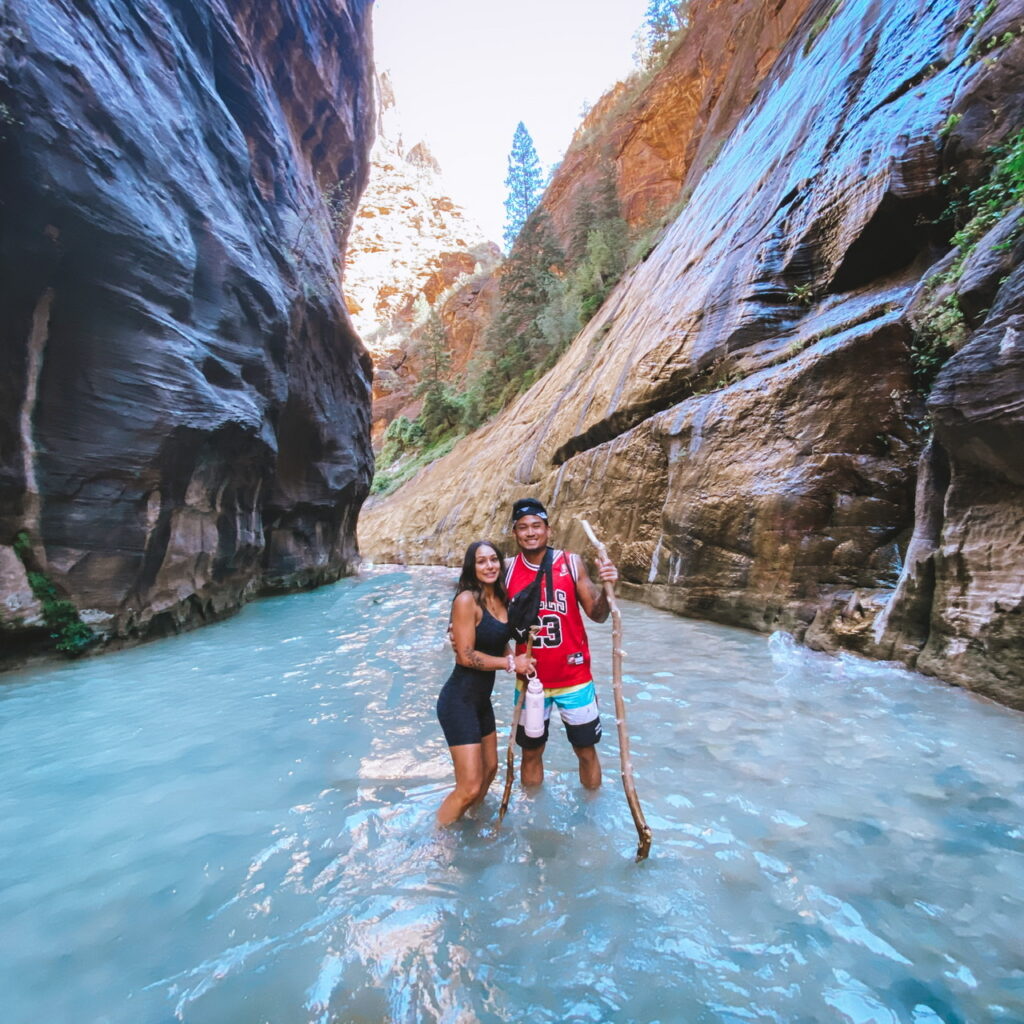
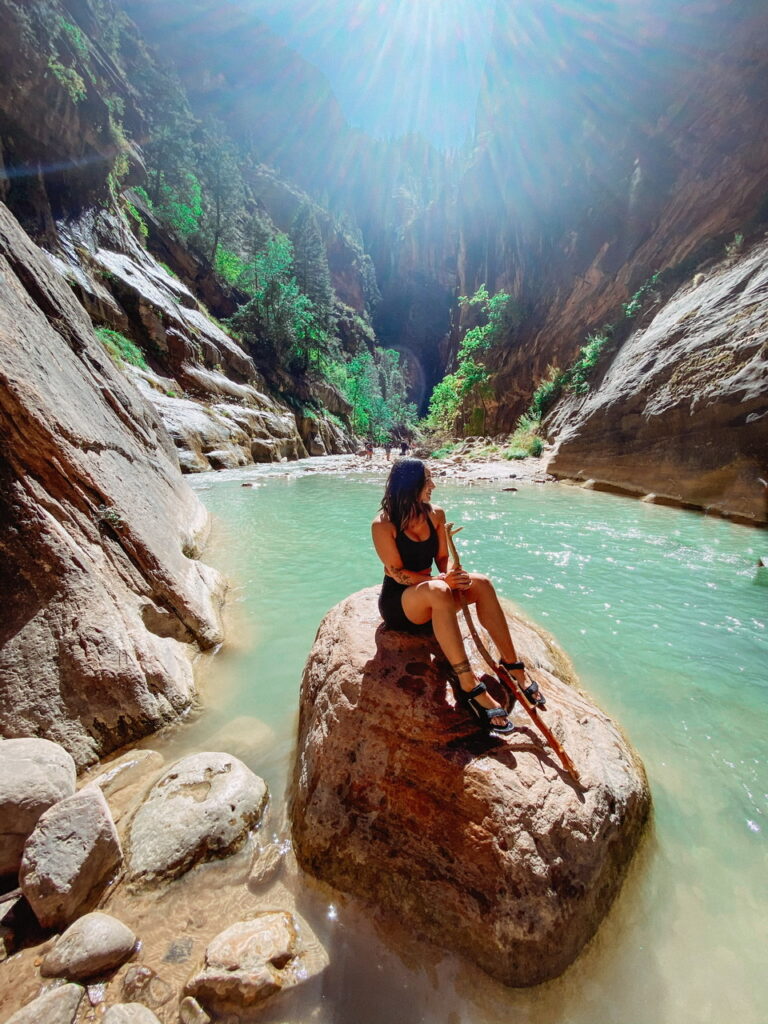
- We started with The Narrows early in the morning to avoid too many other hikers, but the water was pretty cold and it would be great to go mid day when the sun is shining! I hiked The Narrows in Teva-like open toed sandals, which were extremely comfortable. (Linked in my hiking essentials) You can also rent water boots and nylon socks before you go, but it isn’t totally necessary. What IS necessary is a trekking pole or hiking stick. We got lucky as someone had left 2-3 poles at the river entrance, but there is absolutely no way I would have been able to walk through knee deep water on huge slippery rocks for hours without busting my ass.
- While I didn’t partake in the chains sections at Angel’s Landing (Kevin did), I did hike up to Scout’s Lookout, which is the first long section up the mountain before you reach the chains. It was extremely exhausting, and I was wishing I had packed a sandwich like everyone else who decided to rest at Scout’s Lookout! If you like heights and being scared shitless, then this is the hike for you 🙂
- The Subways are another popular hike in Zion, but we didn’t have time to explore this 9.5 mile adventure.
- Also, consider taking a helicopter ride to see Zion from the sky!
- Afterward, make sure you replenish with River Rock Roasting Company. Here you’ll find some amazing pizza, coffee, and bakery treats!
- Sleep in La Verkin/Hurricane (30 min from Zion entrance) or Springdale, UT.
DAY 15-16:
- Start your morning off with a drive to Las Vegas! (2.5 hours from La Verkin)
- If you’re like us and are too pooped to entertain the Las Vegas excitement, you can still explore a few great places around the city. Check out 7 Magic Mountains (free art installation in the desert), The Neon Museum ($20/ticket to see a boneyard of vintage neon signs) or head to Valley of Fire for some more hiking. You can find those swirly markings on the red rocks in Valley of Fire that are similar to The Wave!
- We wanted to relax in the sun away from the parties, so we went off the strip to Red Rock Canyon Resort for some pool side drinking and chillin’.
- Sleep in Vegas + fly back home whenever you’re ready!
I hope you enjoyed this post as much as I enjoyed planning this trip in it’s entirety!
There are so many ways to extend or shorten my itinerary and still get tons out of your own trip. Rent a campervan with friends, go camping, or try backpacking!
If you have any questions about our trip, don’t hesitate to write me on Instagram and I’m happy to help the best I can. Feel free to comment + let me know if this was helpful to you!!

PIN THIS POST!
